Helles 12 brewday
 The cold season really came fast this autumn. It went from walking around in shorts to removing ice from the windshield in a week! I’ve been quite occupied at work the last few weeks (two trips to Germany among other stuff) so this brewday actually took place two weeks ago but I haven’t got around to write about it. Due to family situations I am way behind on my brews and the kegs are emptying fast so I really would have needed to do a big batch or even dual batch this time but I was occupied with other stuff that’s been piling up unfortunately. My goal is to have three nice beers on tap and a hefeweizen on bottle in my bierkeller but right now the house consumption is bigger than I can manage to brew to build up inventory or even lager the amount of time I would prefer. A good basic allround beer for tap 1 is always needed and my go-to’s are Helles and German Pils. This brew was the former, Bavarian Helles. This time I wanted to try to do a smash helles and one of the reasons is that I have one source that says that Paulaner Helles is made with only pilsner malt. I do have another source that includes 4% Carahell so I’m absolutely not sure about this but I thought, why not give it a try? So the recipe is simple enough, 12kg of Balder Pilsner malt and only Perle as hops. I did both a bittering addition and a flavour addition since I sometimes like my helles with a little more nobel hop touch or ”Edel hell” style as the germans sometimes call it.
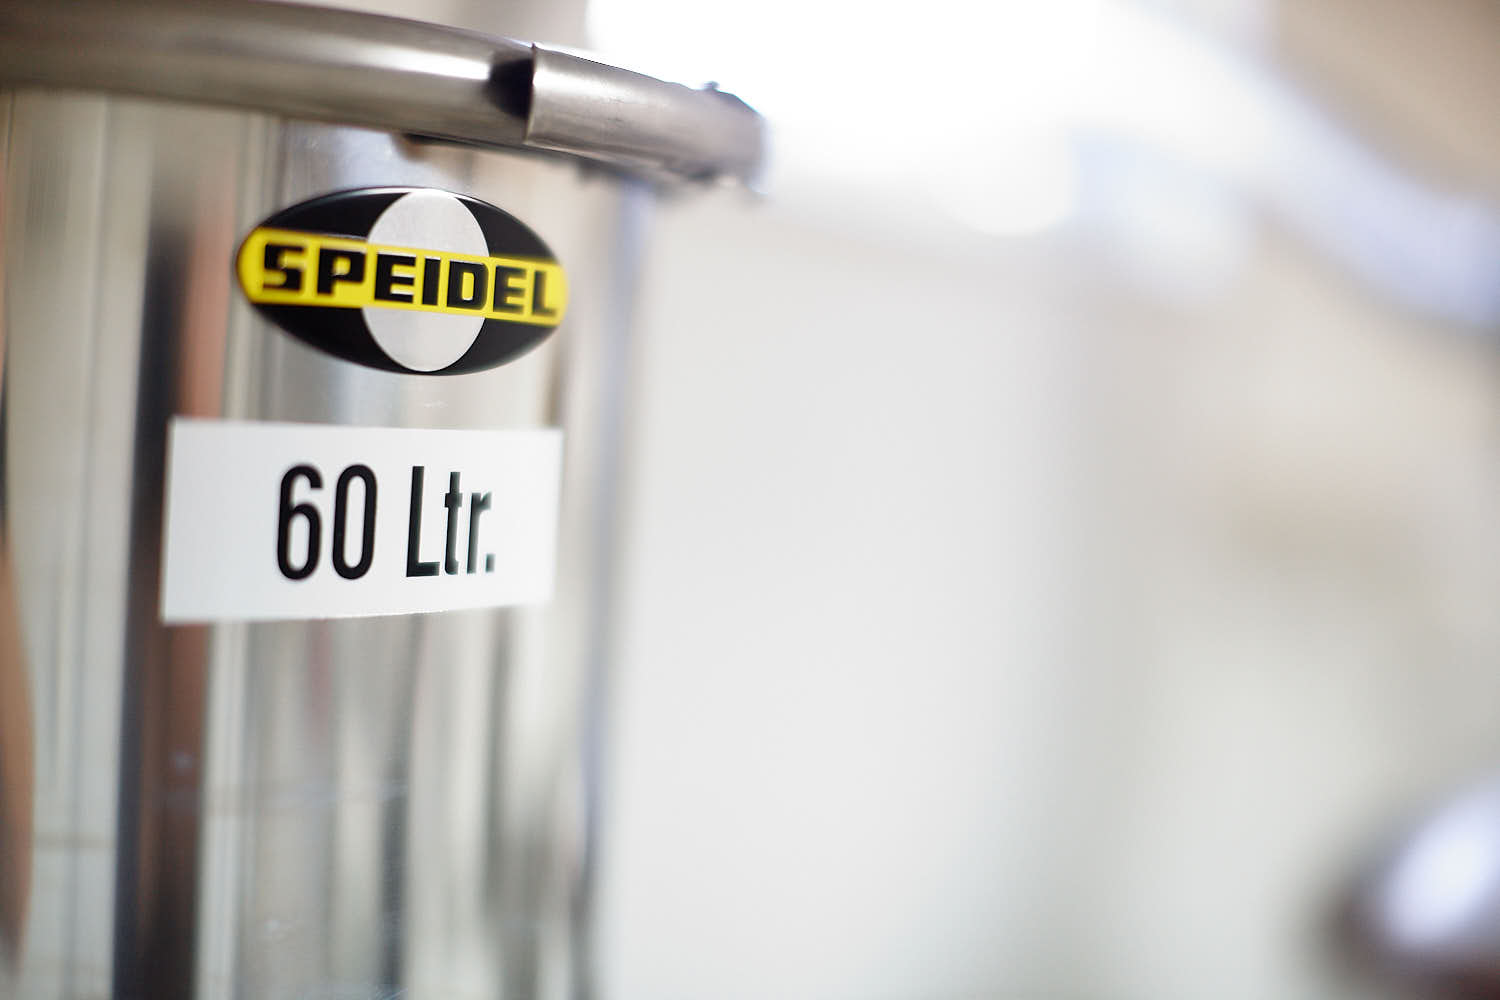
This was a LoDO brew day as most of mine are. The problem with LoDO is that it makes me very constricted in batchsize since I cannot sparge with my system without adding too much oxygen. That limits my batchsize to around 50-55 liters in the fermenter but the Braumeister is able to handle up to 75 liters without a problem. This (for me) standard batch size fits perfectly in a 60 l fermenter but my problem has been that the stainless fermenters I like only comes in 45l and 95l sizes. Well not anymore! Speidel has released a 30 but most importantly 60 liter version and it has the same diameter as the 45l so it fits in a regular fridge which the 95l doesn’t. It is of course a little higher than the 45 so it doesn’t fit under my Braumeister tap in my system but a 20cm silicone hose took care of that this time. The fermentation tank is made of the highest quality steel and I couldn’t recommend it any higher, it’s really well made! Since I’m never dumping any yeast but rather transfer my beer to kegs before the fermentations is finished (called spunding, self carbonation in the keg or bottle) I have no need for a conical fermenter even if they sure look sweet. The problem with the conicals besides them being quite expensive is the weight. It’s not an easy task to clean them nor move them with liquids so they are ment to be stationary and I find it pretty hard to CIP inside my fridge or transfer beer 3-4 meters after a brew. There are of course solutions for both those things but I can’t see the real benefit in beer taste so I’m sticking with the simpler solution. The flat bottom 60l Speidel fermenter fits easily over my keg washer so cleaning couldn’t be easier. Moving it full of wort is no problem except for the weight but that’s the same as when I used 60l plastic buckets. I will surely come back to reviewing this fermenter more in the future but I think I have a winner here already!
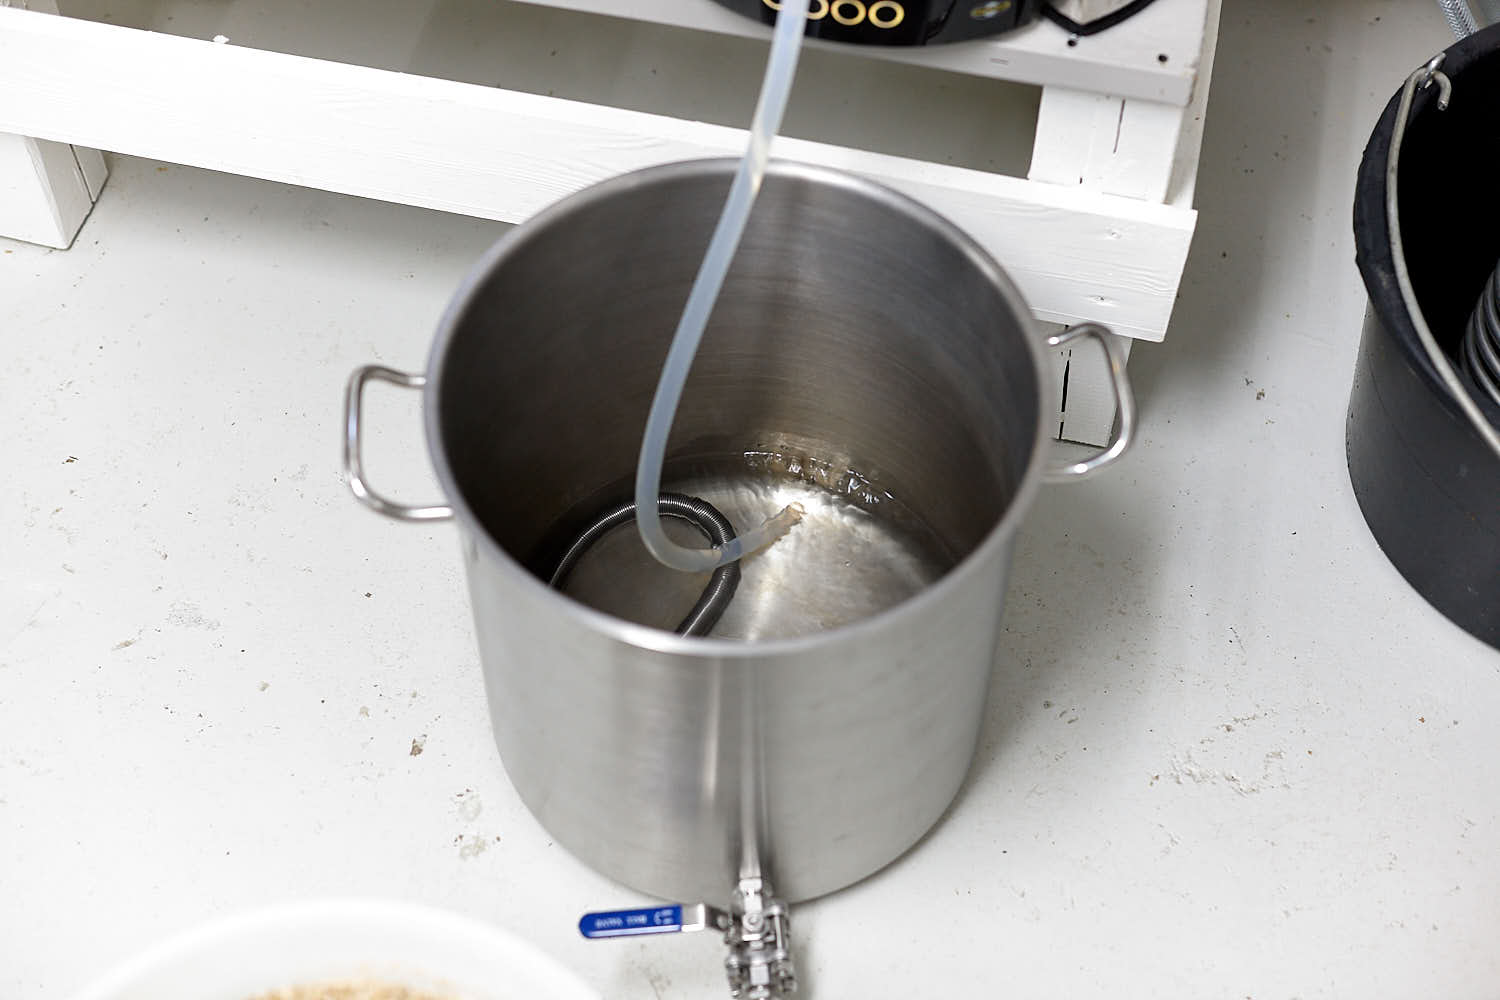
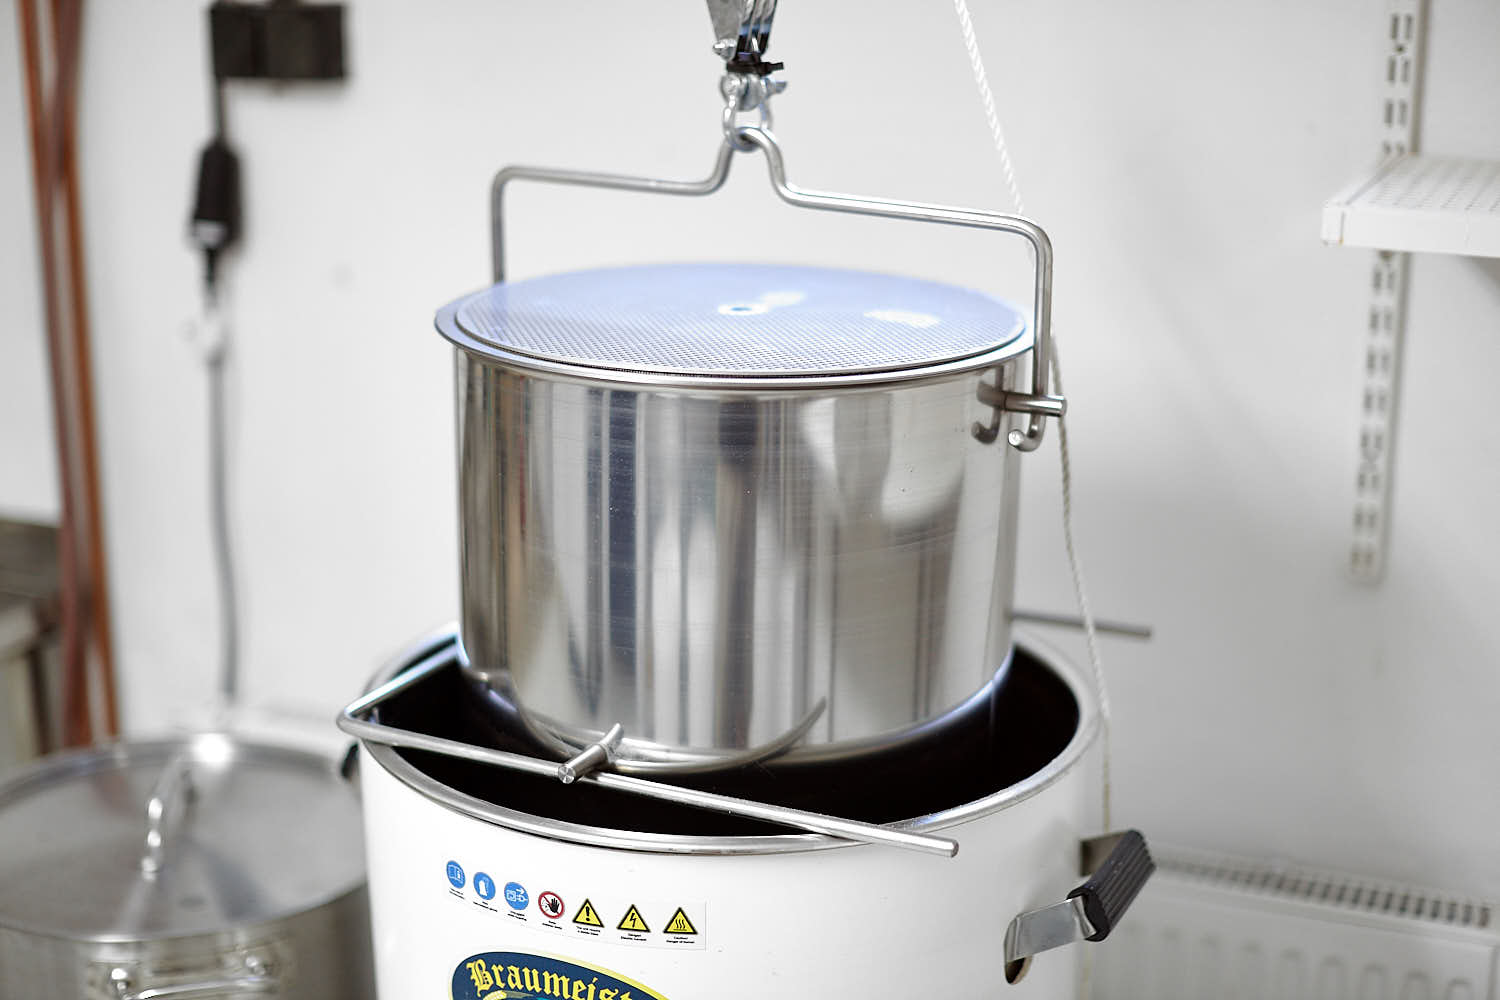
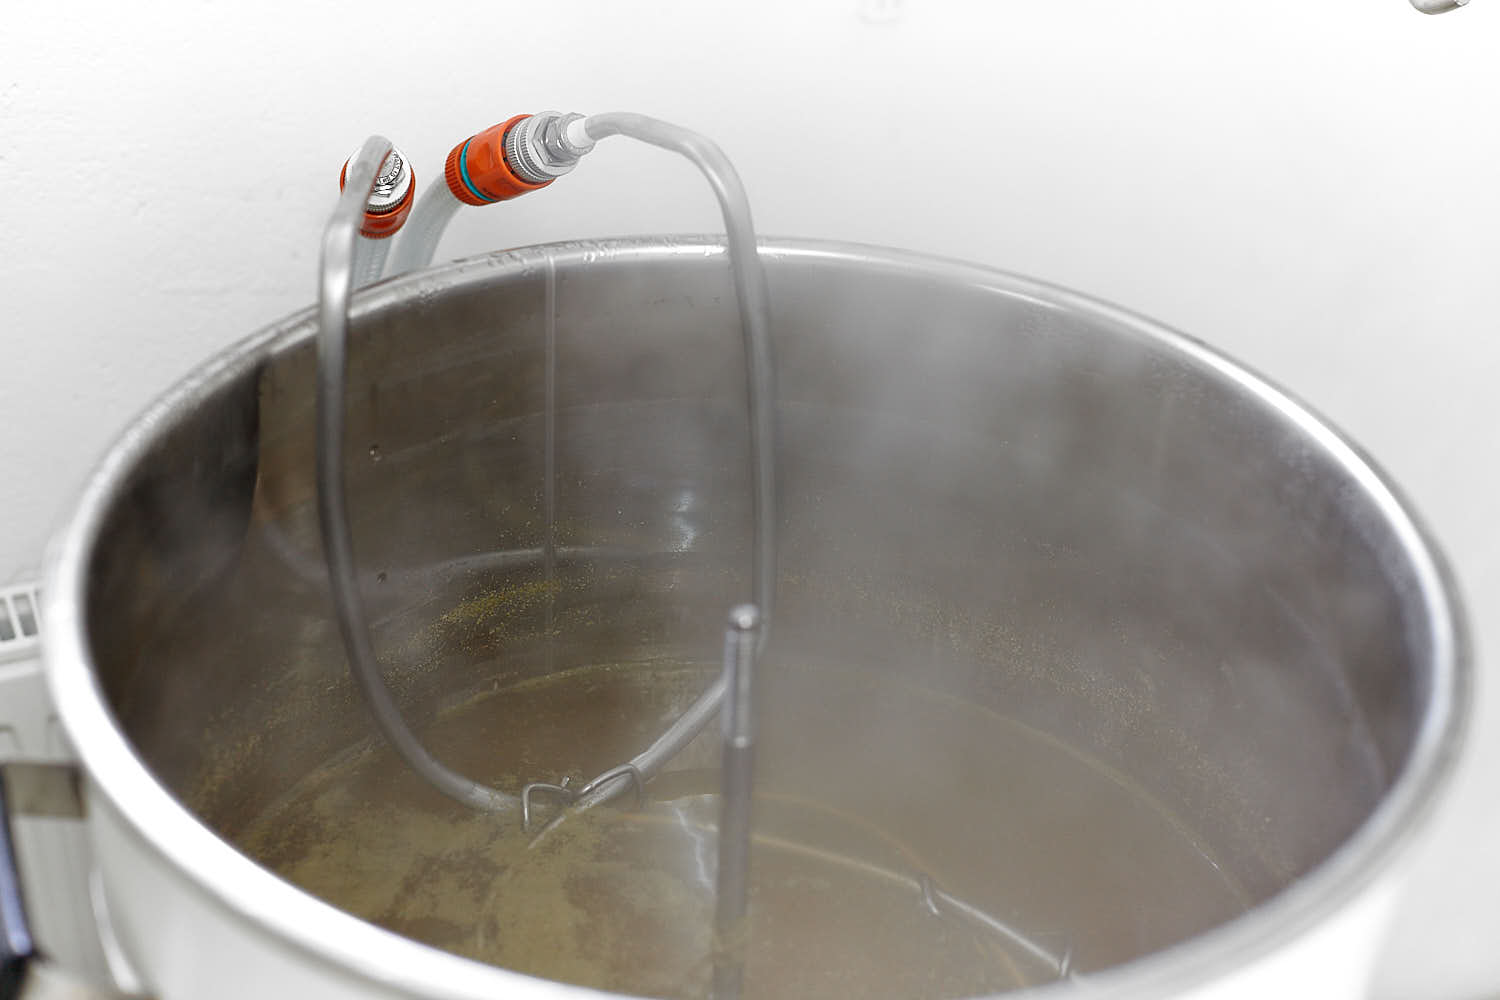
My huge 29m stainless immersion chiller has been collecting dust since upgrading to the Braumeister plus with the built in cooling jacket but I got the idea to use them simultaneously in a sequence since the cooling water comes out pretty cold after just a few minutes. There are two options using two chiller at once; you could split the cooling water in half so both chillers get the lowest possible water temperature or you could just daisy chain them together which gives them double the pressure. Since I didn’t have enough hoses setup for splitting the incoming and outcoming water I tried the sequence/daisy chain method. The improved chilling capacity was pretty high and the temperature dropped about 0,5C per second in the beginning. One problem I thought that I would have is that my immersion chiller wouldn’t fit together with the Speidel LOB kits floating mash cap but I was wrong. I have optimised my chiller to runs smoothly along the kettle edge and since the center rod of the Braumeister is a little bit flexible it is very easy to just push it 1 cm in any direction. I inserted my chiller and than just inserted the mash cap as usual. The exposed wort area remains the same so no added damage is done. Or I should say ”would be done” because on this brew day I used a bit too little mash water so when the contraction of the wort from 100 to 20°C shrinked the volume 4% parts of the chiller got exposed on the surface and the lid was’t floating anymore. It did however work beautifully when I cooled down the strike water after the preboiling for oxygen removal. All in all I’m happy I didn’t sell my chiller because I think I might start using it again. Reducing my chill times to half is saving both time and water and the quicker I can get those yeast buddies working the less my wort will deteriorate.
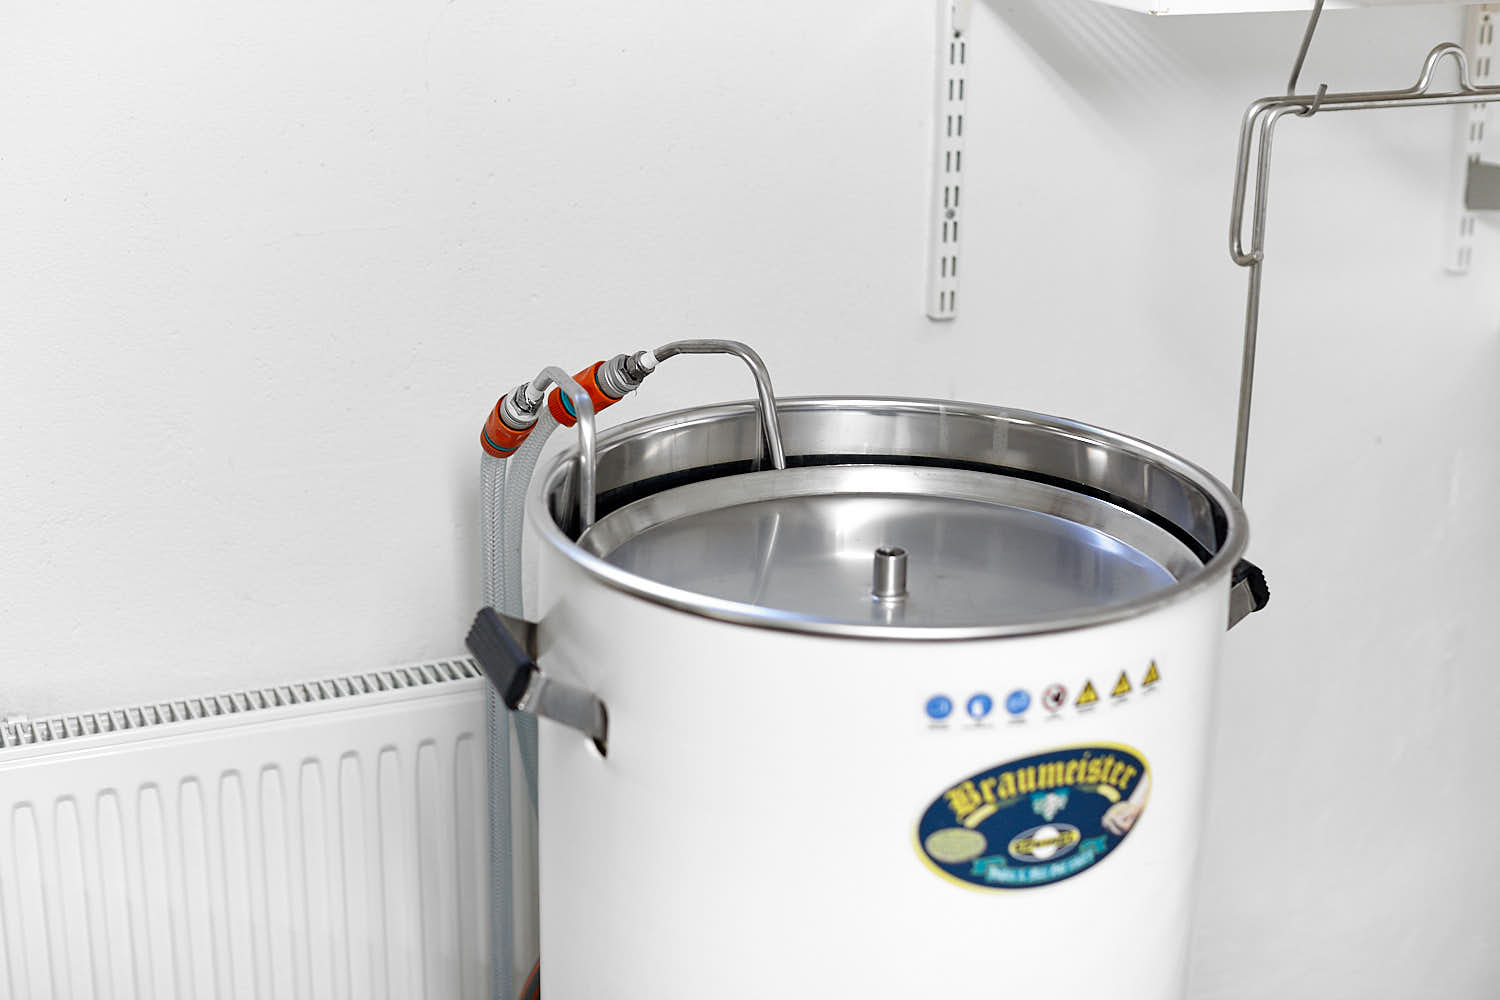 My stainless immersion chiller fits like a glove under the Speidel LOB-set floating disc. Since I linked it together with the cooling mantle in a sequence, only one extra hose was needed. Why haven’t I tried this before?
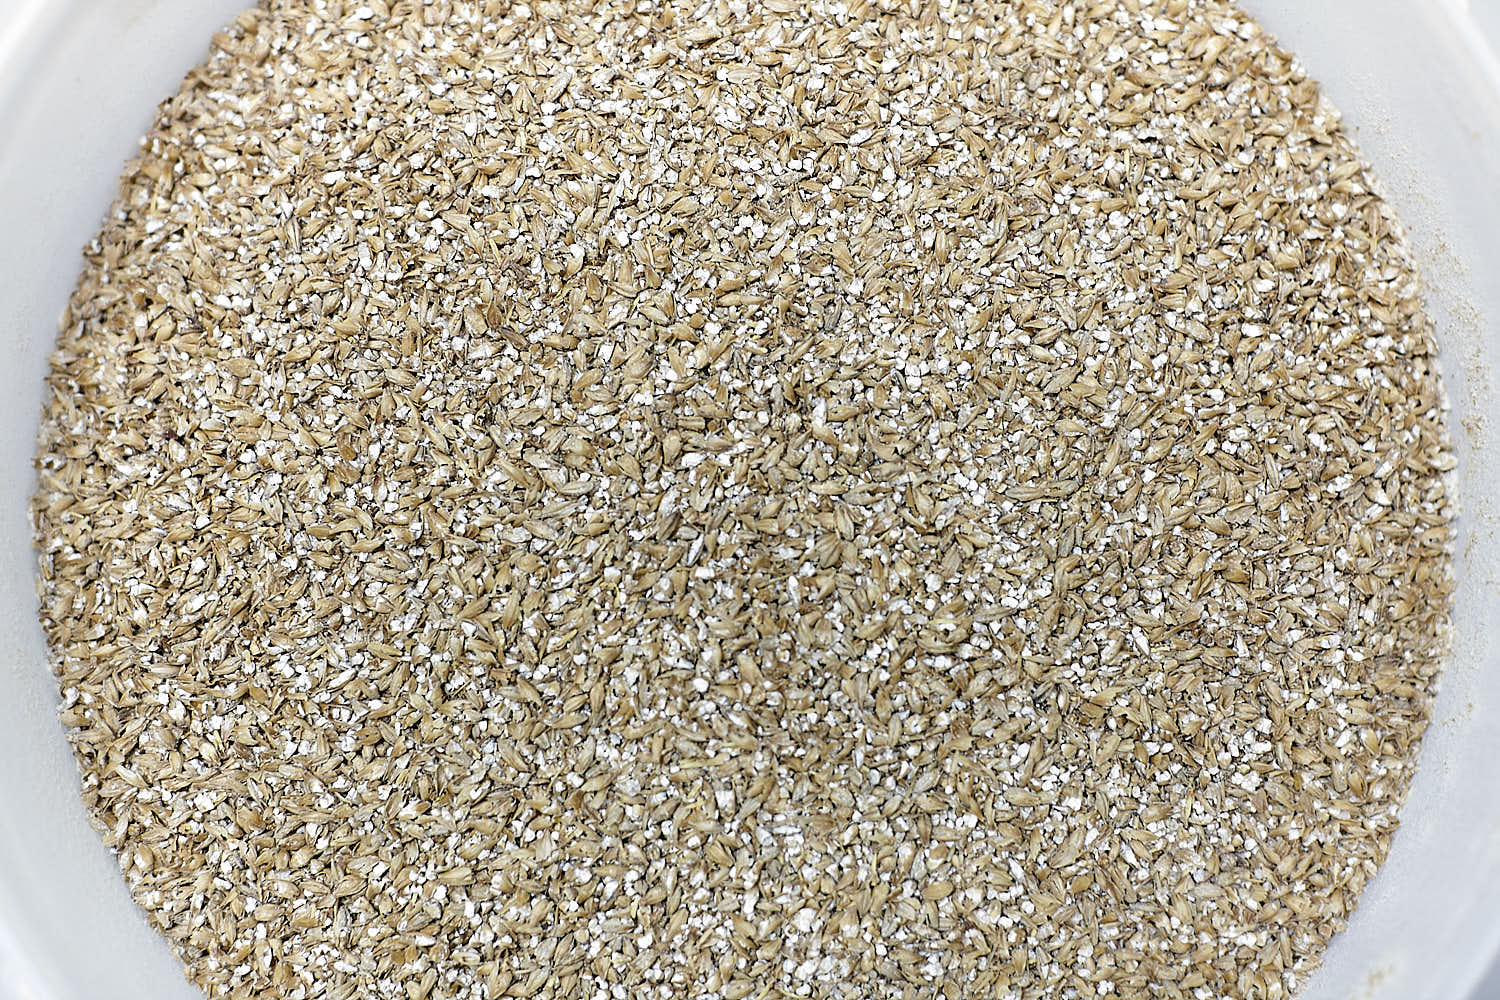
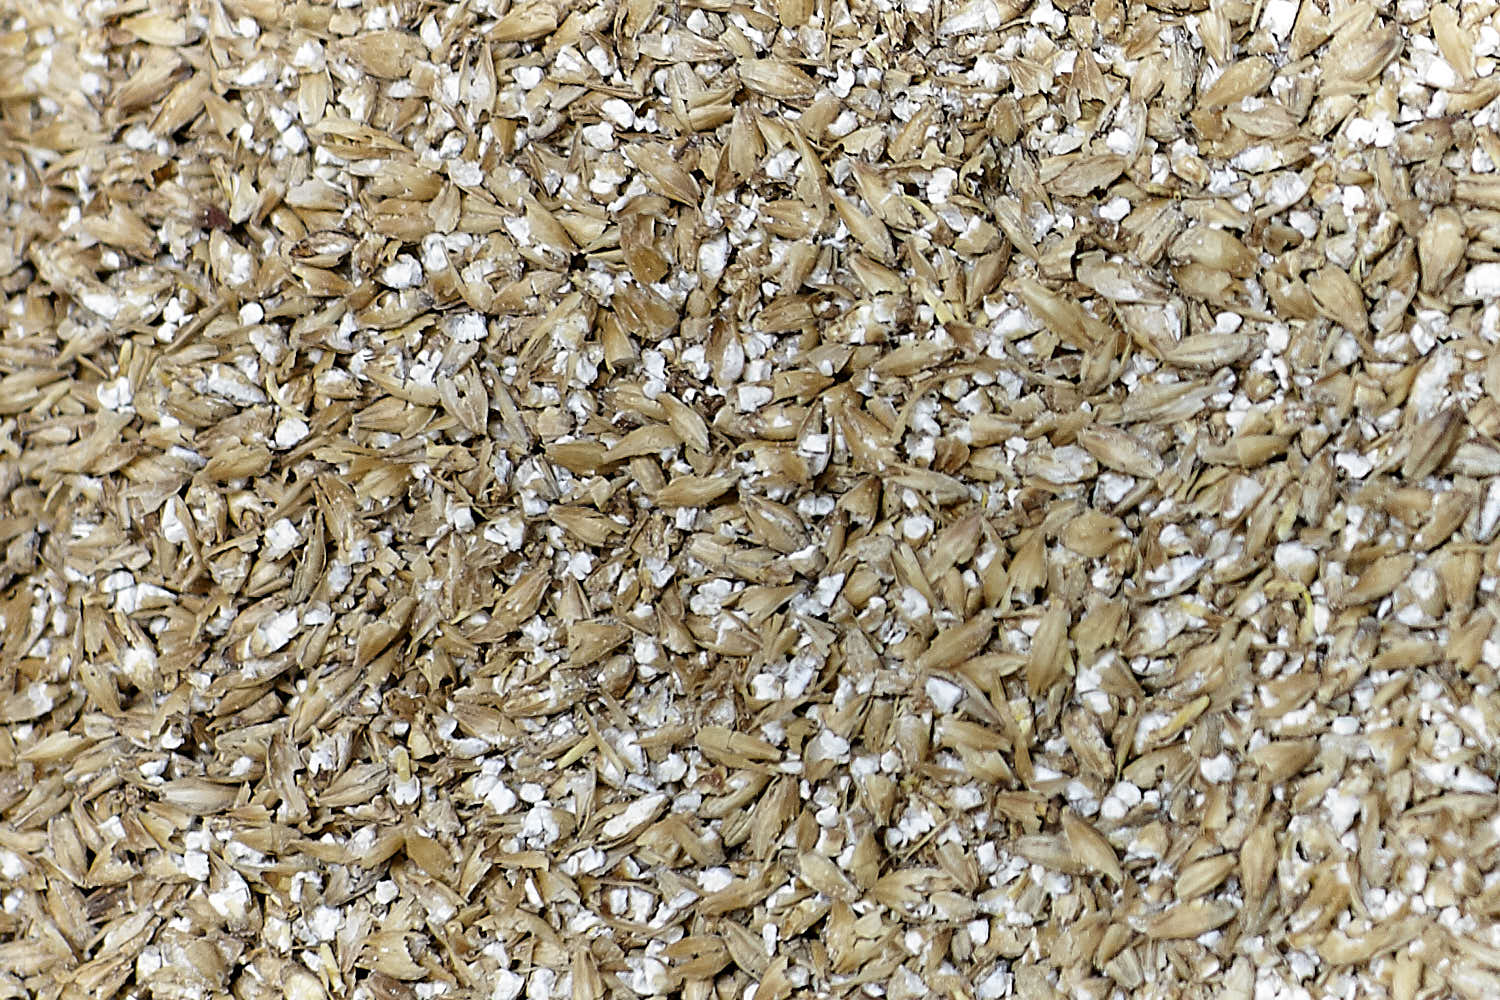 Still crushing with 1,6mm in the static roller and 1.0mm on the adjustable on my Monster Mill MM3 and the crush looks very nice with no visible dust.
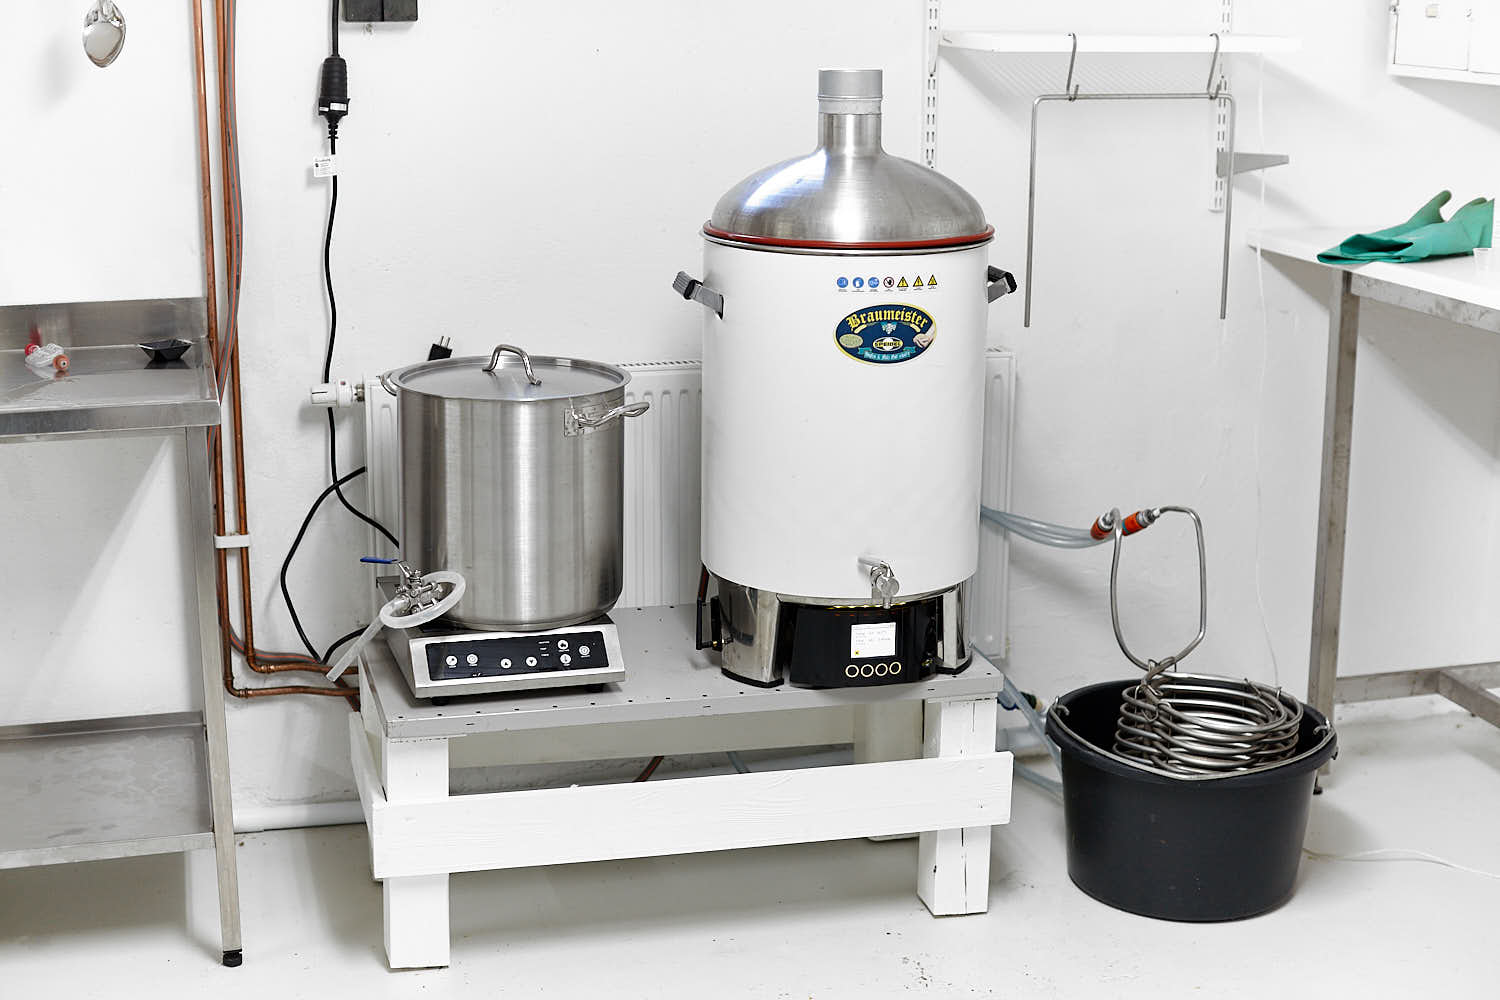
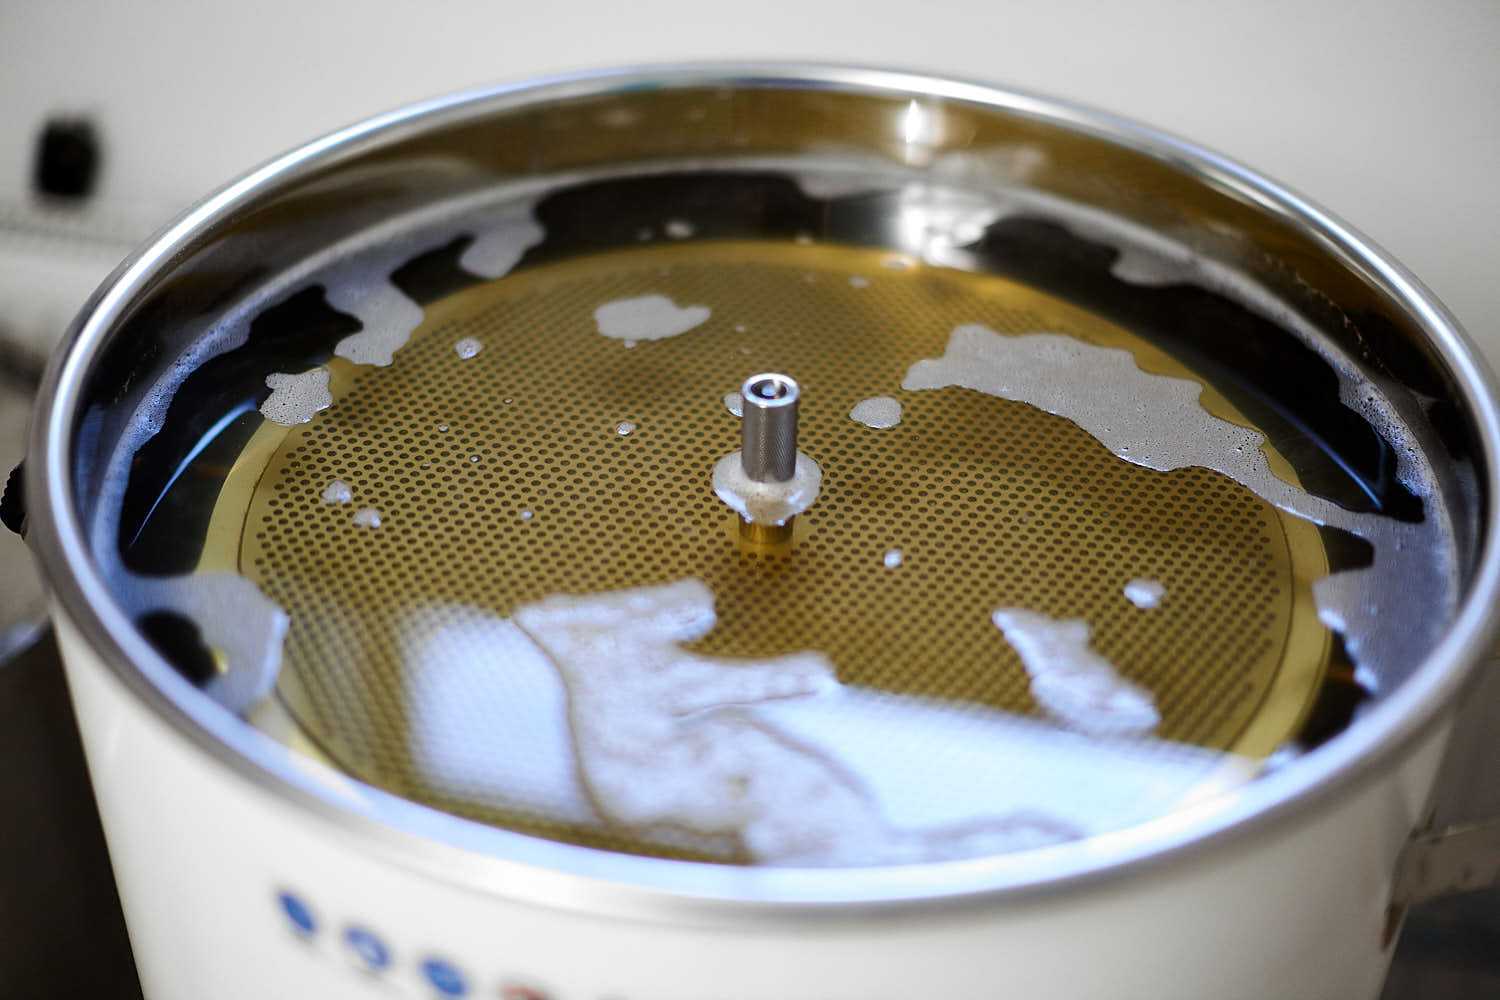 Mash in foam level was average for being LoDO. The LOB-kit with the new knob and filter holder is awesome. I think every Braumeister owner should have one since it’s also expands malt capacity in the malt pipe for stronger brews.
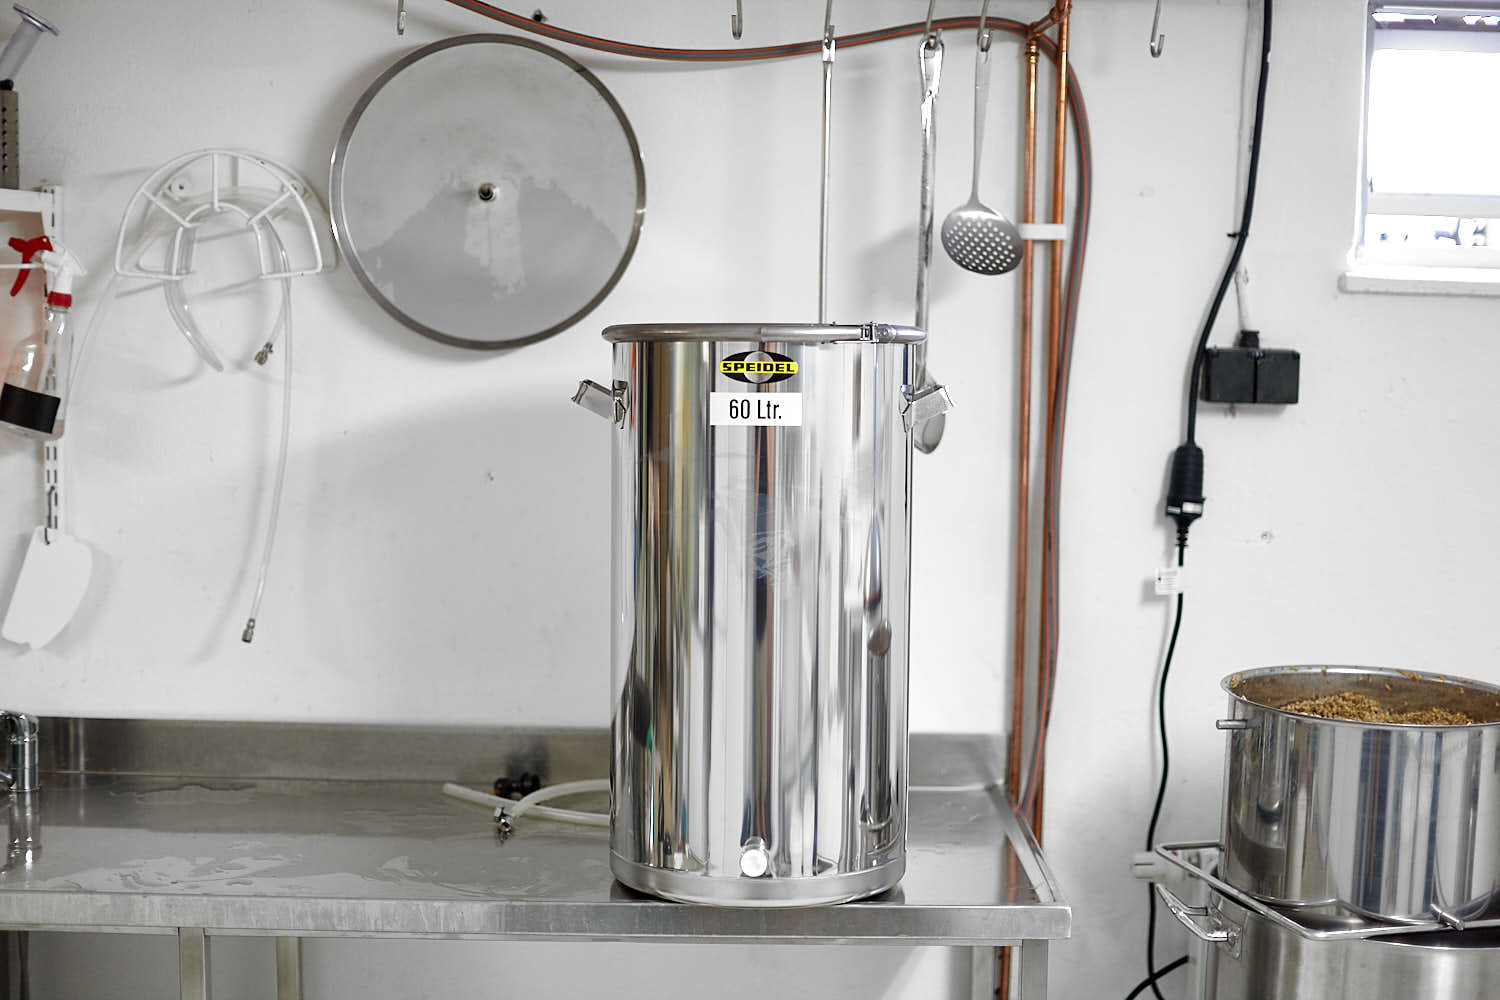 The new and shiny stainless Speidel 60l fermenter.
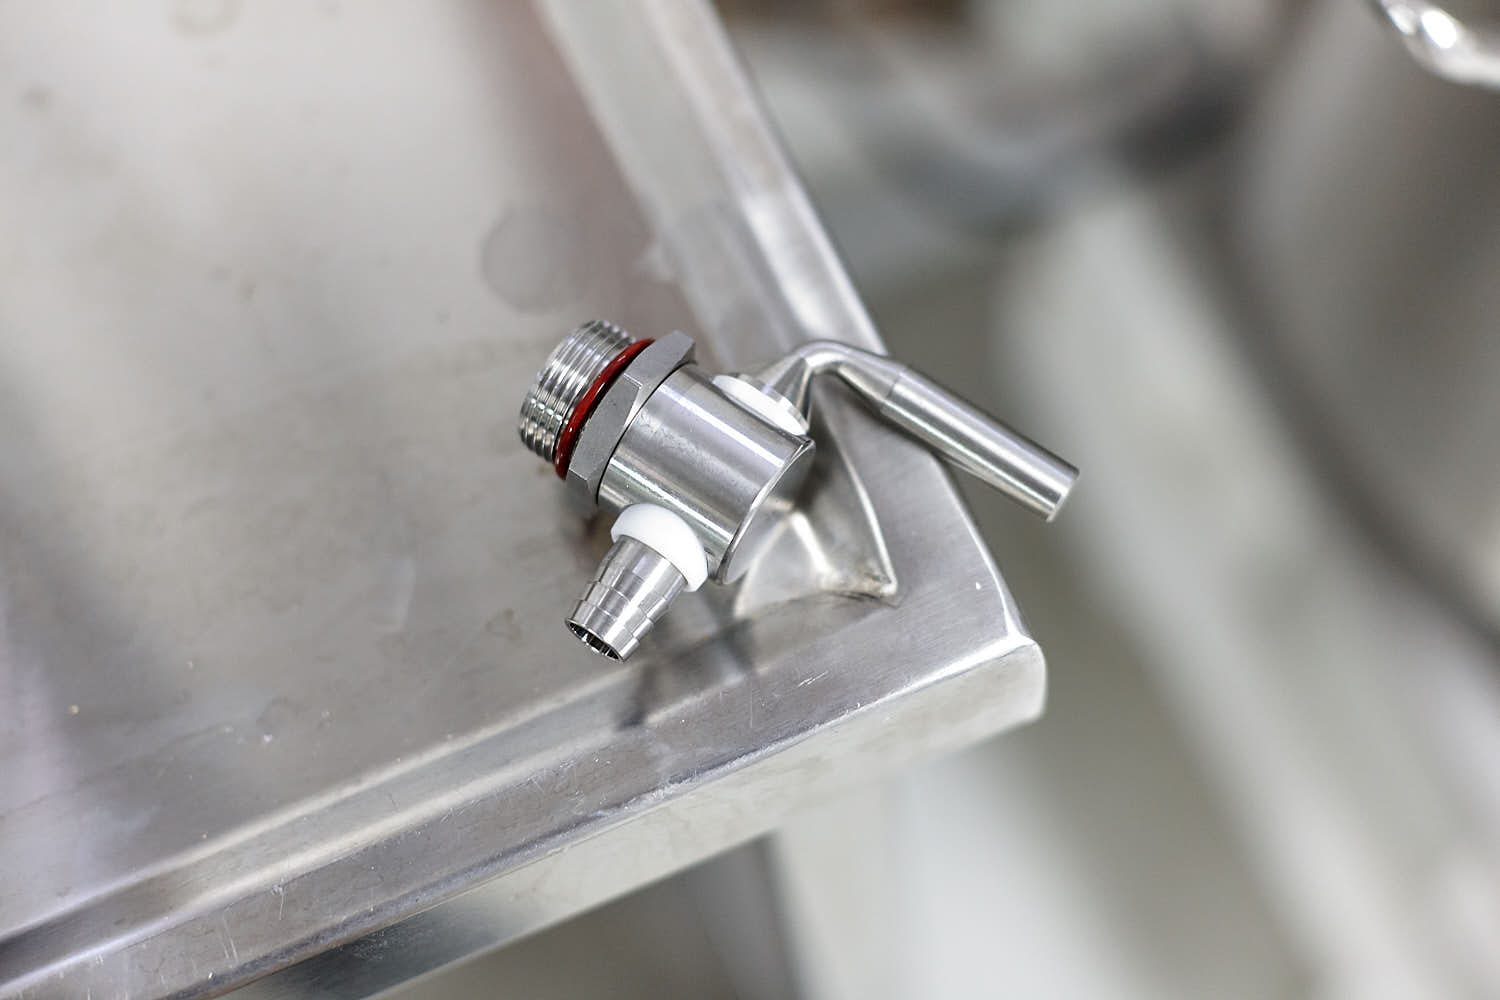 The latest version of the tap is the same that came with my Braumeister. It is very simple to take apart to clean compared to all the other ballvalves out there and with the improves ridges on the tap nozzle the hose stays a lot better than before.
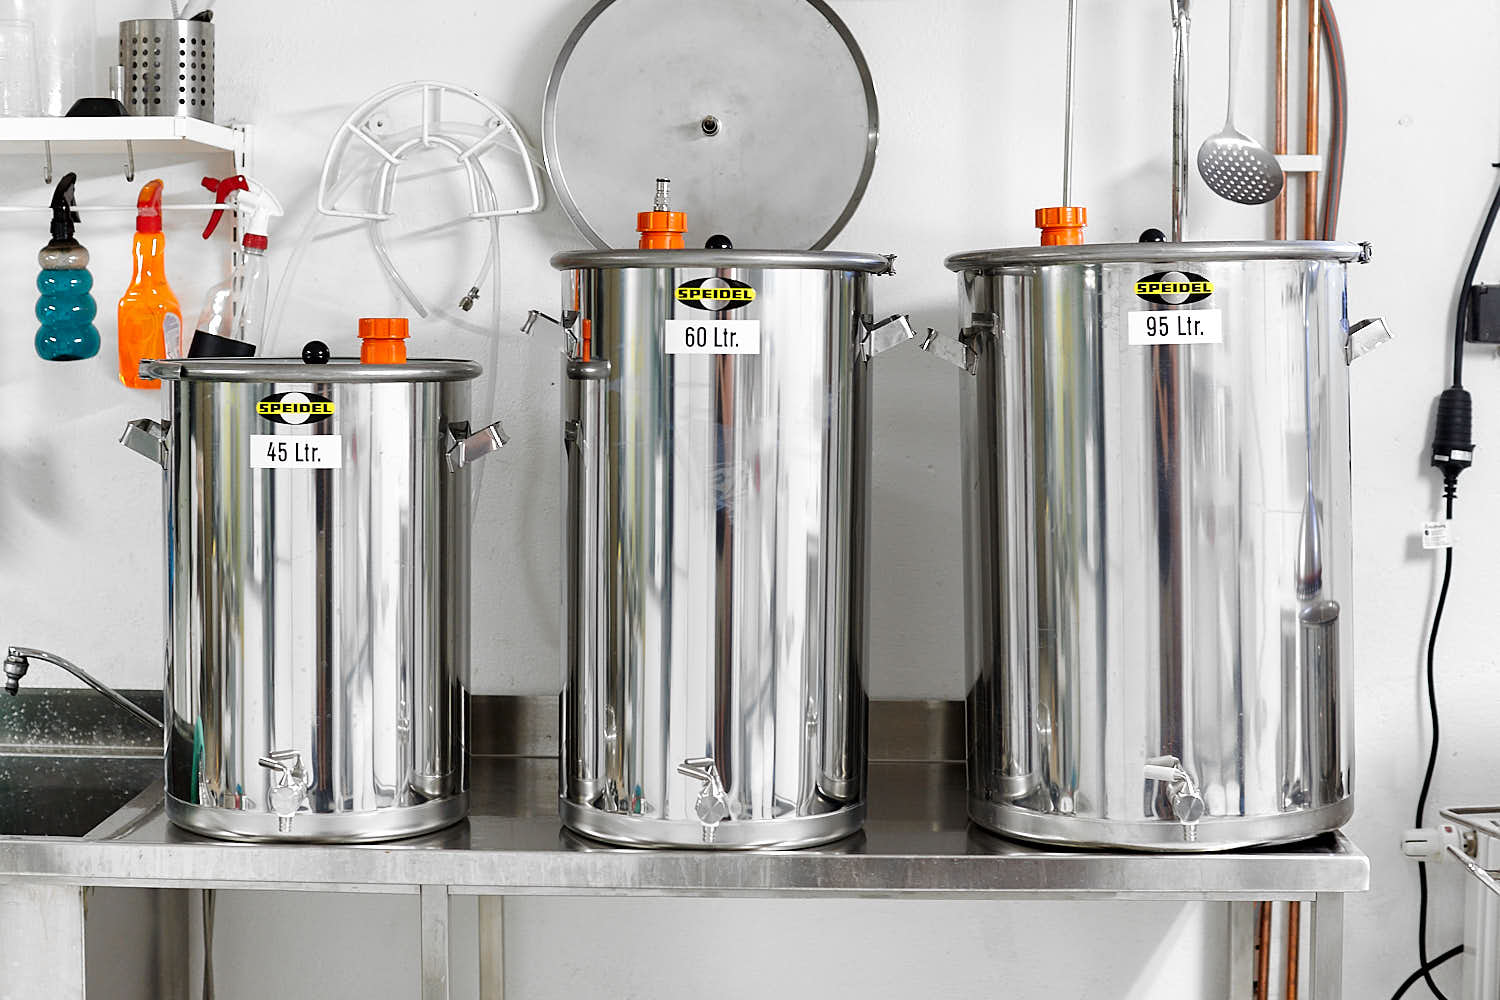 Size comparison between the three bigger sizes. I do not own the 30l version but I have been told it’s the same diameter as the 45l but a third shorter. God I love stainless. Doesn’t it look awesome? Too bad they aren’t all filled with beer…
 Du har väl inte missat min bok om ölbryggning? Köp den hos Humlegården!


Angående:
”Still crushing with 1,6mm in the static roller and 1.0mm on the adjustable on my Monster Mill MM3 and the crush looks very nice with no visible dust”.
Det är inte DAMM (dust) som skapas, när man krossar malten alltför fint…..
Det är mjöl (flour, eller malt flour)…..
Du har rätt.
Hej,
Jag har köpt ett rostfritt jäskärl som jag, i princip, känner mig nöjd med. Enda problemet var tappkranen som jag nu har tagit bort och ersatt med en plugg. Det hade varit mer praktiskt med en kran. Jag vill fråga dig var du har hittat den fina kranen på bild ovan. Helst skulle jag vilja ha dimensionen 3/8 – osäker på om jag skulle våga öka diametern – har du någon erfarenhet – kärlet är på 25 l
Just den kranen är från Speidel och finns bla hos humle.se men endast i 3/4” bsp så lite ovanlig gänga. 1/2” npt är vanligast och lätt att köpa grejer på jula/biltema till. Mindre kran betyder mindre stående vätska och mindre infektionsrisk. Kran på jäskärl är ett måste om det inte är damejeanne och långjäsning (1år eller mer).
Hej,
tänkte brygga en helles för första gången och tänkte ta efter recepten i din bok. Jag har letat lämplig vattenprofil på nätet och hittar förvånansvärt litet om just helles. Har du några tips? Tänkte själv i dessa banor: Ca=50, Mg=6, Na=20, So4=50, Cl=100, HCO3=0. Tar även gärna emot typiska fällor att undvika för den här typen öl. Det sägs ju vara svårt att brygga det här…
Min Helles uppenbarelse skedde i somras. Var på semester i Trier och sov på hotell med eget biergarten och bryggeri i källaren. Medans de flesta av deras APA’s, IPA, Stouts etc var inget märkvärdigt, så var deras Helles helt underbar (att det var 35 grader varmt kanske hjälpte till). Välbalanserad och med stor skumkrona och tjock, gräddig munkänsla. Mums.
Hälsningar,
marc
Ska du få till en riktigt bra Helles är det lågsyrebryggning och övrig best practise som gäller. Jäs kallt (8-10c) och lagra minst 2v gärna 4 på 0°C. Det finns inga genvägar alls för denna ölstil.
Vattenmässigt har jag med en rekommendation i boken du kan kolla på. Jag skulle hålla ditt SO4 nere mer men annars set det bra ut.
Det finns en bok om bara Helles men den är ganska dåligt skriven med framförallt mycket faktafel och bryggmässigt är den långt ute och cyklar på många håll.
Tack! jag kollar i boken igen, måste ha missat det.
Sidan 61 högst upp i tabellen.