Hippo – Mottrycksfyllare
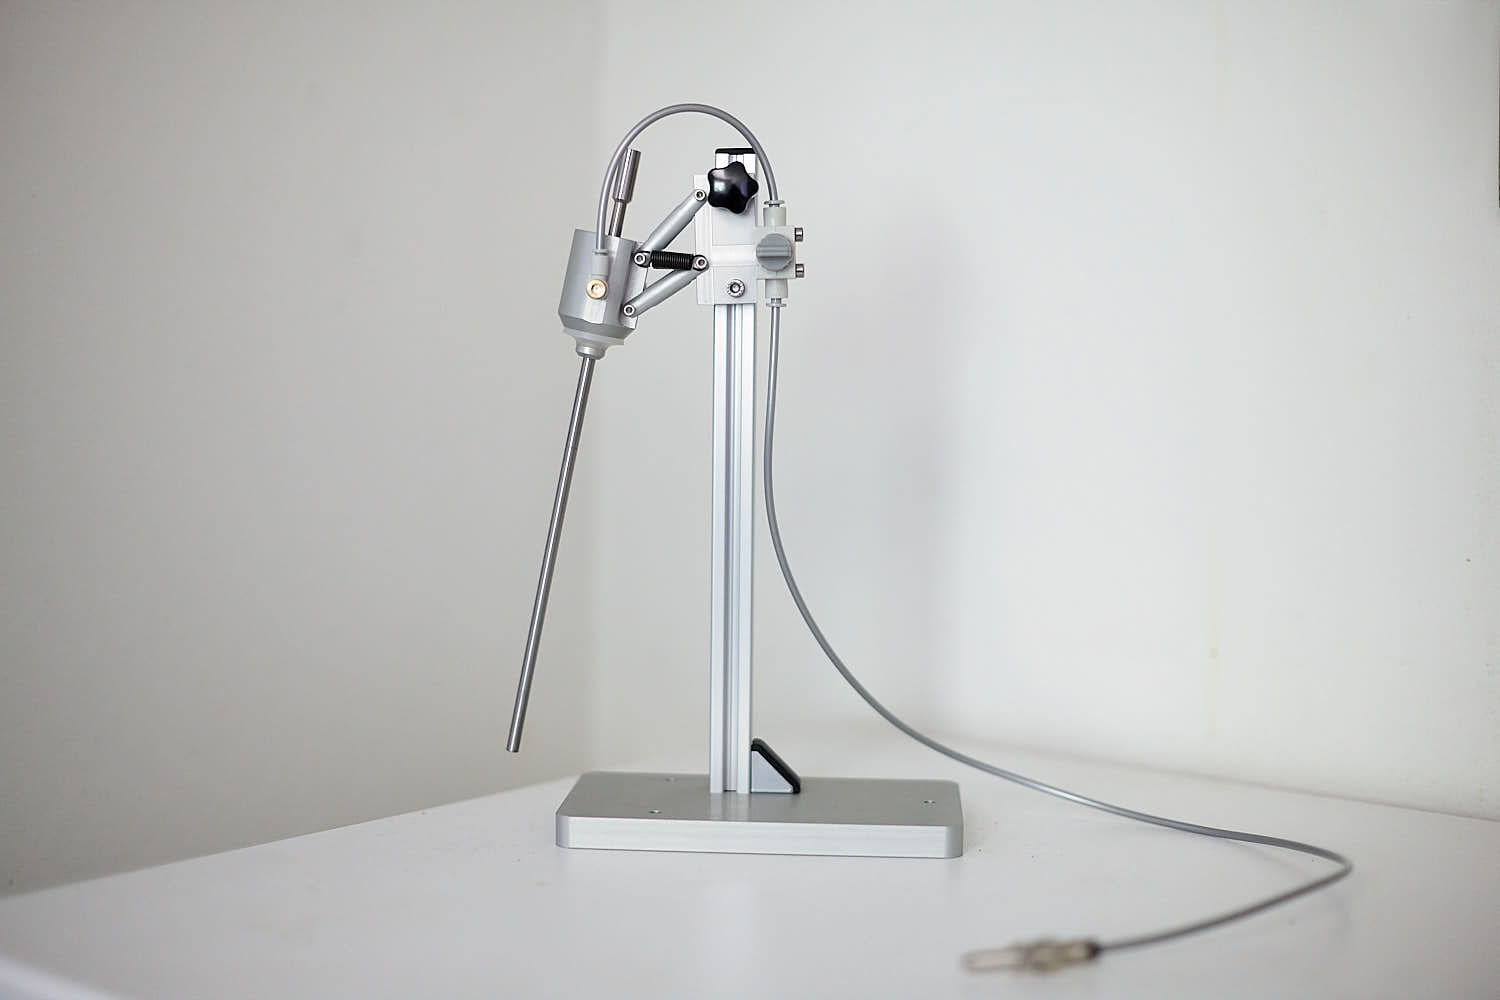 Det var länge sen jag fyllde flaskor direkt från ett fat. Med mina Hefeweizen har jag gått över till spundning (kolsyrejäsning med extrakt kvar) eller i värsta fall klassisk flaskjäsning med sockerlag, men för öl som lagrats i fat har jag använt mig av ghetto fyllaren; en 30 cm lång ölslang med en silikonpropp på. Ghettofyllaren fungerar likt en mottrycksfyllare med uppbyggt tryck i flaskan med DIY-designen gör den mer lämplig till någon enstaka flaska än en hel batch på 40 liter. Som en av mina vinster på SM vann jag en rejäl mottrycksfyllare som heter Hippo och som jag tänkte skriva om i detta inlägg.
Hippon tillverkas av Alltab och utvecklaren (ingengören?) Ulric Thunström bosatt i Nyköping. Den är mestadels gjord i eloxerad aluminium förutom själva fyllardelen som är av rostfritt stål. De minsre delarna är tillverkade av SMC och är industrikvalité. Hippon är en så kallad mottrycksfyllare vilket betyder att man först fyller sin flaska med ett tryck i form av CO2 vilket gör att ölet flyttas till flaska utan skum och med minimal förlust av kolsyra. Som en bonus kan man även blåsa ur flaskan med CO2 först för att minska oxidering, ofta kallat “purge”. För att allt detta ska fungera behöver trycket i flaska och fatet vara det samma och man behöver ha en T-koppling på sin kolsyreslang. En slang till fatet och en till mottrycksfyllaren. Manualen rekommenderar 2.0 bar men jag har flaskat med mitt standardtryck på 1.2 bar med perfekt resultat. Här får man labba lite själv. Så här fungerar det att flaska med Hippon:
1. Ta en desinficerad flaska och tryck den upp och in i Hippon så den låses fast av silikonpackningen uppåt och aluminiumbasen nedåt.
2. Justera det rostfria fyllarröret så det nästan når botten men inte helt ända ner.
3. Vrid på den gråa ratten till höger för att fylla flaskan med CO2.
4. Stäng den lilla gråa skruven (justerbar dumpventil) på vänster sida så den inte släpper ut flaskans innehåll.
5. Släpp ut flaskans innehåll genom att trycka på svarta knappen till vänster samtidigt som flaskan fylls på med ny CO2 några gånger (purgea).
6. Låt flaskan fyllas med CO2 så ett tryck byggs upp och stäng den gråa ratten till höger.
7. Öppna partykranen på toppen av rostfria fyllarröret och öl kommer nu sakta fylla flaskan underifrån.
8. Justera fyllningshastigheten genom att vrida på gråa skruven till vänster.
9. När flaskan är fylld, stäng av partykranen. Lyft flaskan upp och ut för att ta bort den.
10. Innan flaskan är helt borttagen, fyll på en sista skvätt med öl via partykranen så det bildas skum i flaskhalsen istället för luft.
11. Sätt genast på en kapsyl.
Designen och fyllningsmetoden kanske verkar krånglig såhär i text men den är faktiskt väldigt enkel; sätt in en flaska, spola ur med CO2 några gånger, fyll flaskan med öl via mottryck först och slutligen lite utan. Färdigt!
Jag har fyllt ett gäng flaskor och är väldigt imponerad av byggkvalitén. Med mitt paket fick jag en uppsättning kopplingar så jag kunde välja hur jag skulle koppla in kolsyran, snyggt! Det är väldigt enkelt att fylla flaskor utan något som helst skum, helt utan justeringar. Som en bonus, och med hjälp av Ulric, har jag utvecklat en metod att via Hippon kunna göra en “Triple Vacuum Purge”, en proffsfyllarmetod som jag grovt beskrivit hur det går till i min bok men inte lyckats genomföra själv förens nu. Jag kommer gå igenom den metoden i ett senare inlägg.
På den negativa sidan var manualen lite rörig, den är lite för låg för champagneflaskor även om högre baspinne finns som tillbehör och slutligen anser jag att Hippon behöver skruvas fast i ett bord för att vara enkel att manövrera. Allt som allt ger jag Hippon ett väldigt högt betyg och jag har inte sett någon hembryggarfyllare som varit i närheten kvalitétsmässigt. Den är åt det dyrare hållet men man får vad man betalar för, professionell kvalité! Hippon finns att köpa via Alltabs webbshop för 2495 kr och på samma ställe finns även en del tillbehör och reservdelar.
(english)
It’s been a long since I filled bottles from a keg. With my Hefeweizens I rely on spunding (carbonation with remaining extract) or in worst case the classical suger addition in the bottle (bottle fermentation) but for beers already in the keg it’s been up to the ghetto-filler; a 30 cm long beer line with a silicone cork. It works as a counter pressure filler but there is no way to easily purge the bottle with CO2 first and the DIY-design makes it mostly a “few-bottles-every-now-and-then-solution”. As one of my prices for winning a gold medal at the Swedish Championship I got a counter pressure filler called Hippo that I will review in this post.
The Hippo is made by Alltab and the engineer Ulric Thunström in Nyköping/Sweden. It is mostly made from anodised (eloxided?) aluminum but the filler pipe that will be in contact with the beer is made from stainless steel. The smaller parts is made by SMC which is industry quality. Hippo is a counter pressure filler, meaning that you first fill your bottle with pressure in form of CO2. Then when your beer enters the bottle, there will be little to none foam and there for no loss in carbonation. As an added bonus you can first flush your bottle with CO2 to reduce air or more importantly oxygen. To be able to do this, the pressure in the keg must be the same or just slightly higher than the pressure in the bottle and that’s why you need a T-connection on your CO2-line. One to the keg and one to the filler. The manual recommends 2.0 bar for pressure but my standard 1.2 worked perfectly. This is how you fill a bottle:
1. Take a sanitised bottle and push it upwards into the Hippo, securing it to the silicone gasket on top and against the aluminum base on the bottom.
2. Adjust the filler pipe height so it is very close to the bottom but not all the way down.
3. Turn the grey CO2-knob on the right side, letting CO2 fill the bottle.
4. Close the little grey screw (adjustable release valve) on the left side to stop any involuntary release of pressure.
5. Dump CO2 by pressing the black button on the left to fill/dump (purge) CO2 from the bottle a few times.
6. Let pressure build up in the bottle once again and turn of the CO2 (grey knob on left).
7. Now open the party tap connected to the top of the stainless filler pipe and beer now slowly enters the bottle from the bottom without foam.
8. Adjust the beer flow by opening the Hippo escape valve (small grey knob on left) slightly.
9. Turn of the party tap when the bottle is filled and remove the bottle by pushing it up and out.
10. Before completely removing the bottle, add a little beer without counter pressure by pushing the party tap one last time. This will create foam on top of the bottle and replace air in the bottle neck with CO2.
11. Close the bottle with a sanitised crown cap immediately.
The design and filling method might seem difficult on paper but it really isn’t. In short; mount a bottle, add CO2 and purge a few times, add beer with pressure and a little without. Done!
I have filled a few bottles and I’m very impressed with the build quality. With my package I got some extra connections so I could choose how to connect the CO2, very nice! It was really easy to fill bottles without any foam at all. As a bonus and with help from Ulric, I have developed a way to “triple vacuum purge” bottles with the Hippo, a technique I described very roughly in my book but haven’t been able to master until now. I will describe that in detail in a coming post. On the negative side; the manual for the Hippo was a little unclear at first, the height is a bit to low for champagne bottles but a longer main rod can be bought as an accessory and finally I think the Hippo needs to be mounted on a table to be easy to manoeuvre. All in all, I’ll give the Hippo a very high rating and I have not seen any homebrew filler that comes near the Hippo in quality. A bit pricy one might think but you really get what you pay for, this is professional quality! The Hippo is available from the Alltab webshop (not sure if they deliver outside of Sweden right now) for 2495 SEK and the webshop also features a few accessories and spare parts.
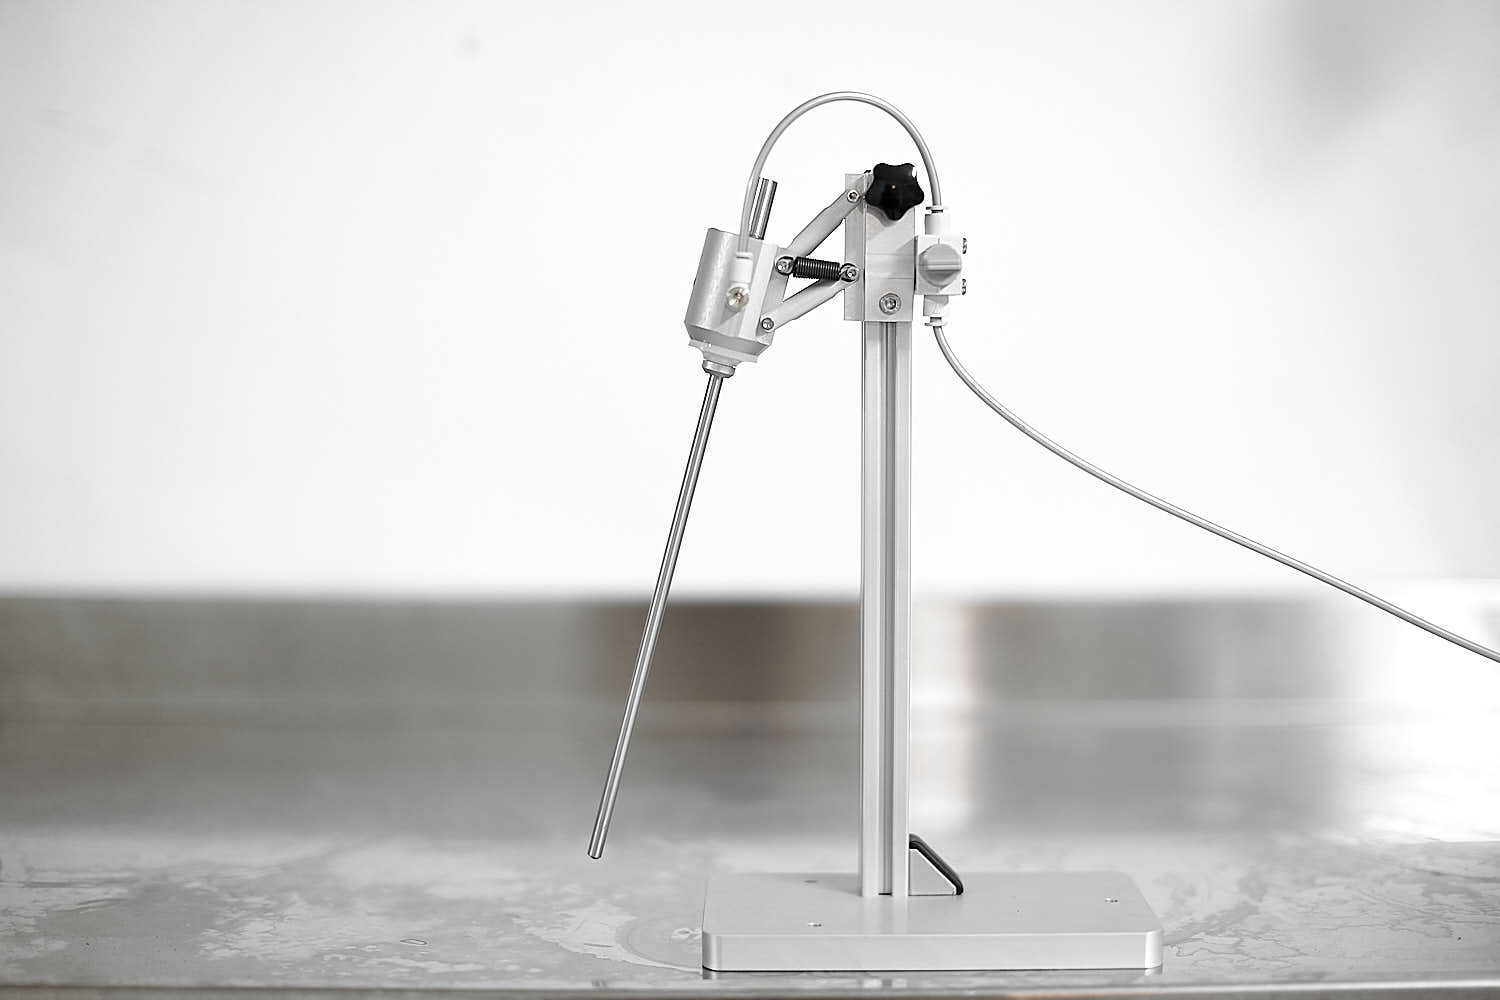 The highest black knob adjusts the bottle height. Grey knob to the right is CO2 on/off.
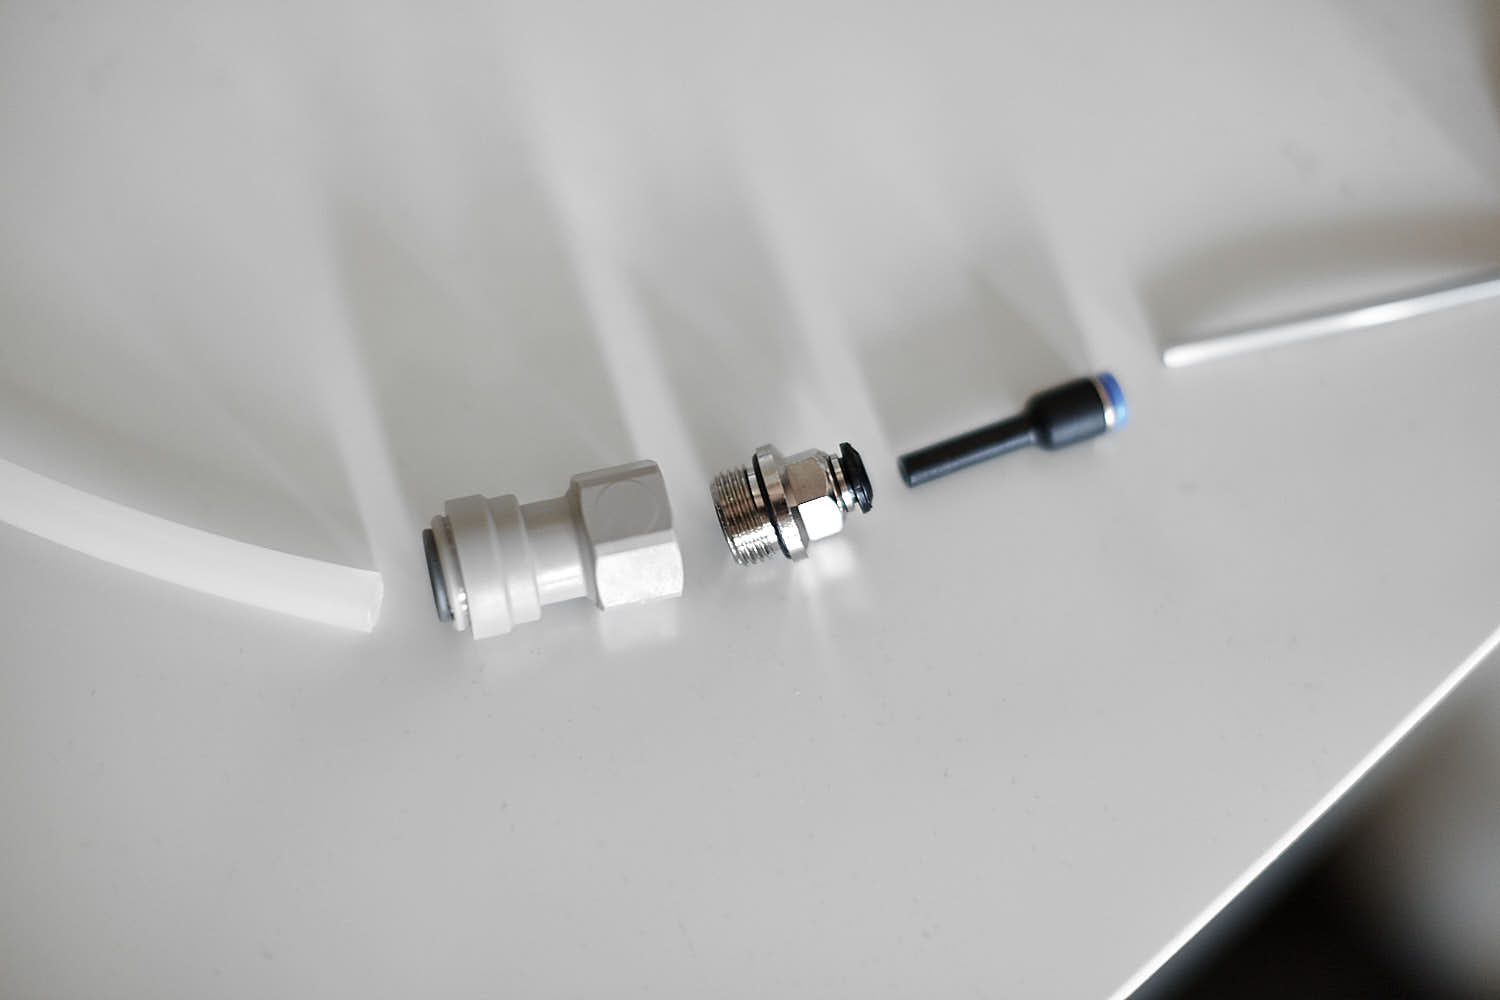 One way to connect CO2. Standard CO2 from the left and then (at least for me) included parts to connect to the already mounted grey hose.
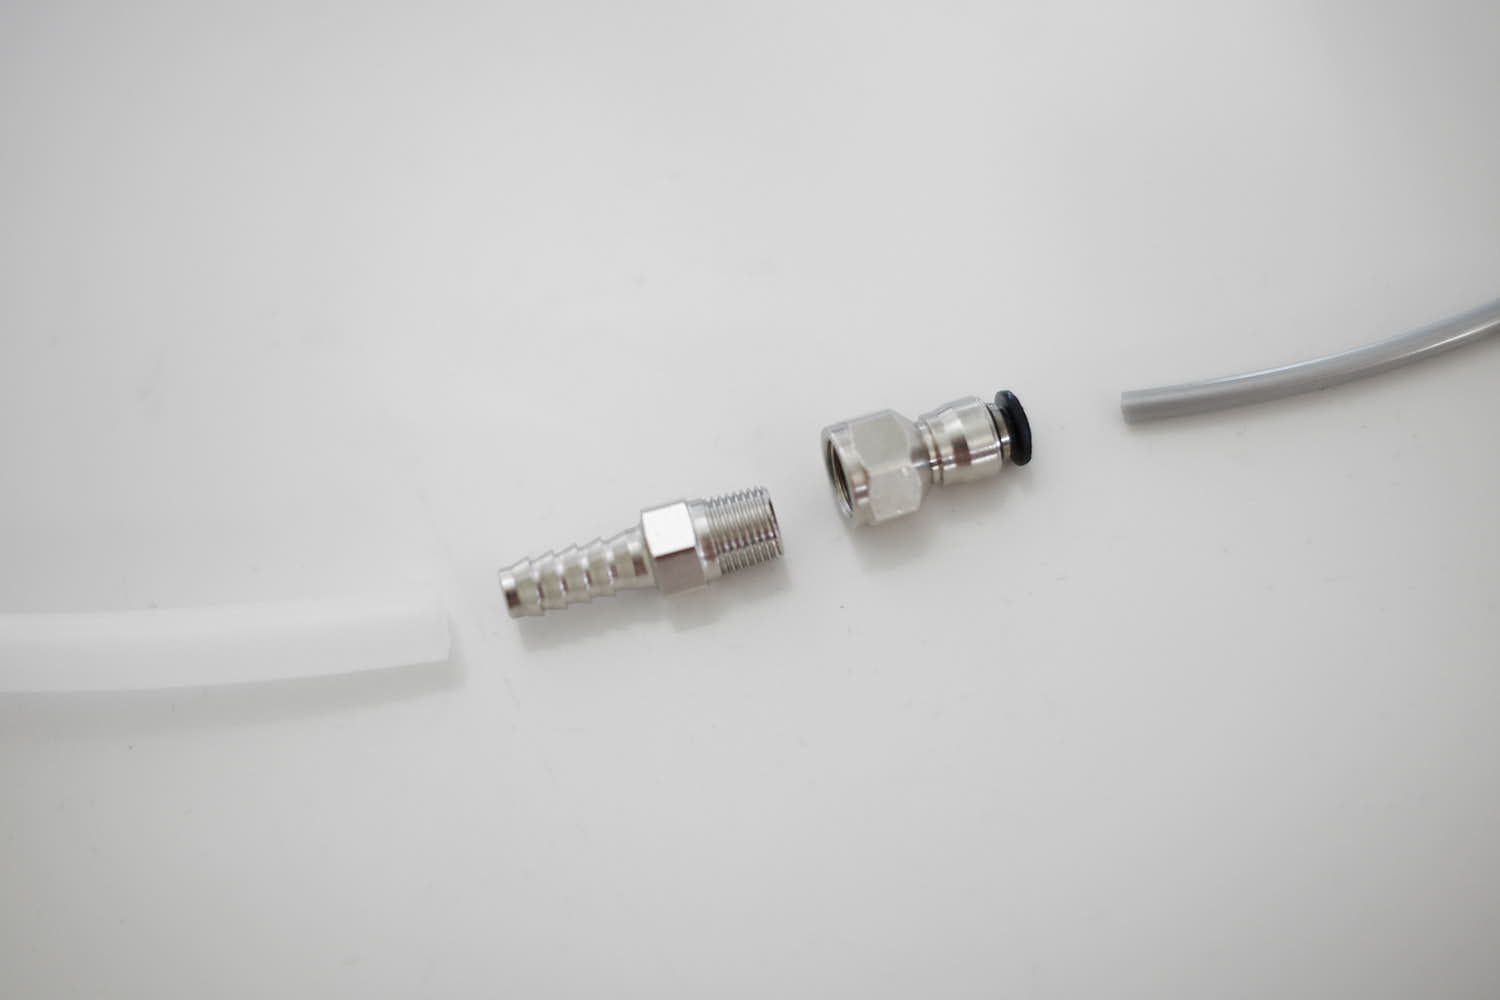 The other way to connect CO2 inside of the CO2-line instead.
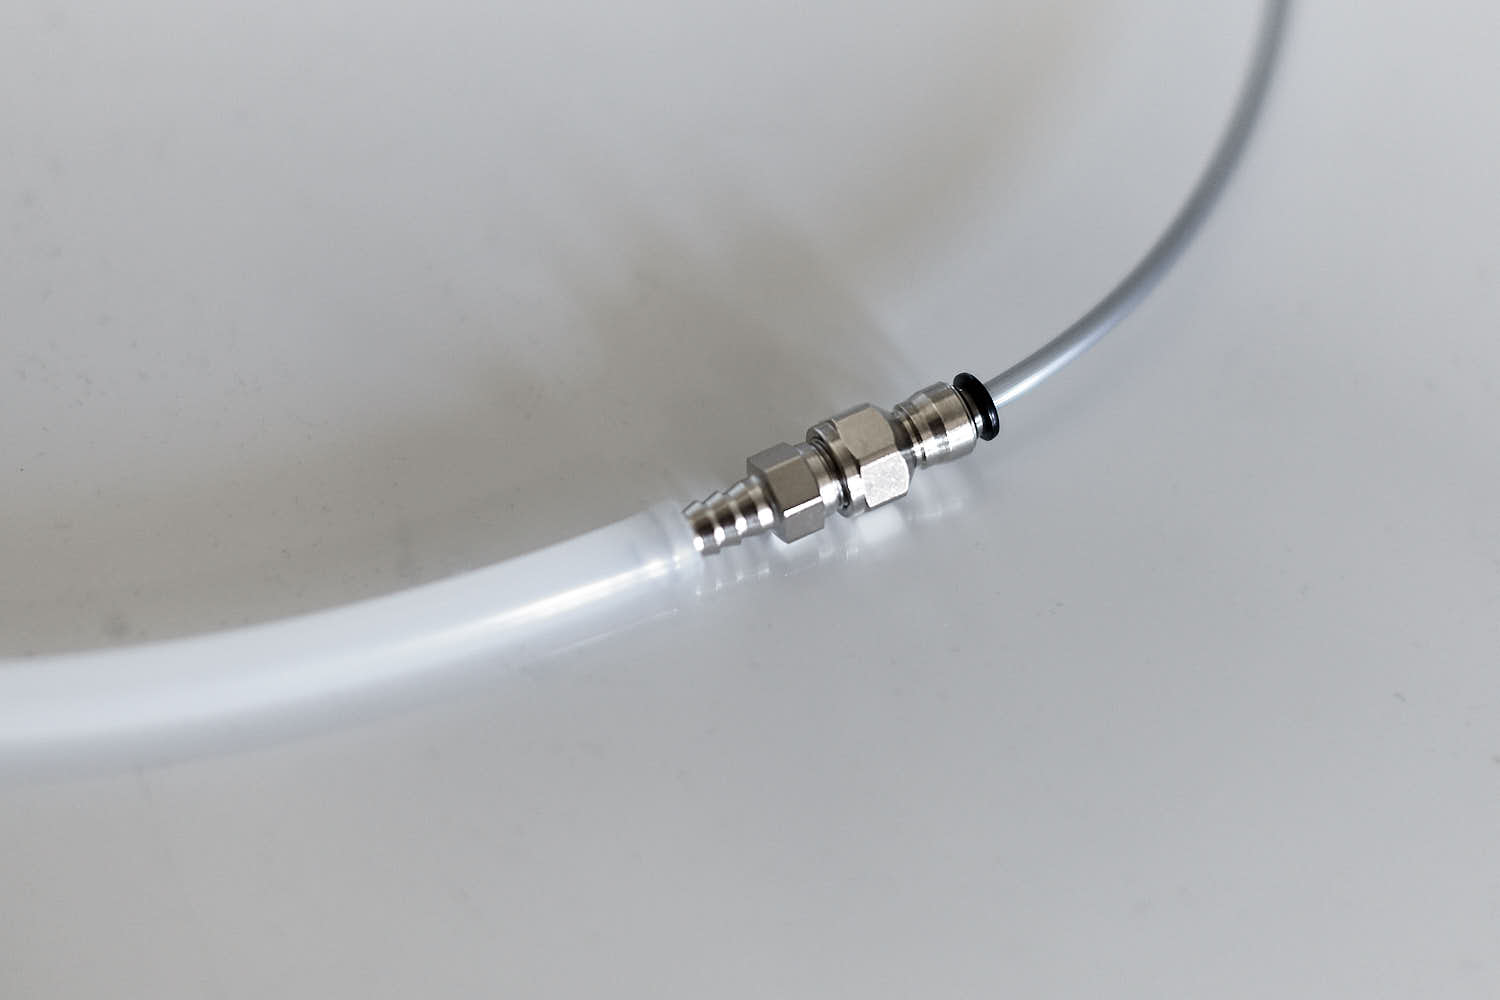 Connected.
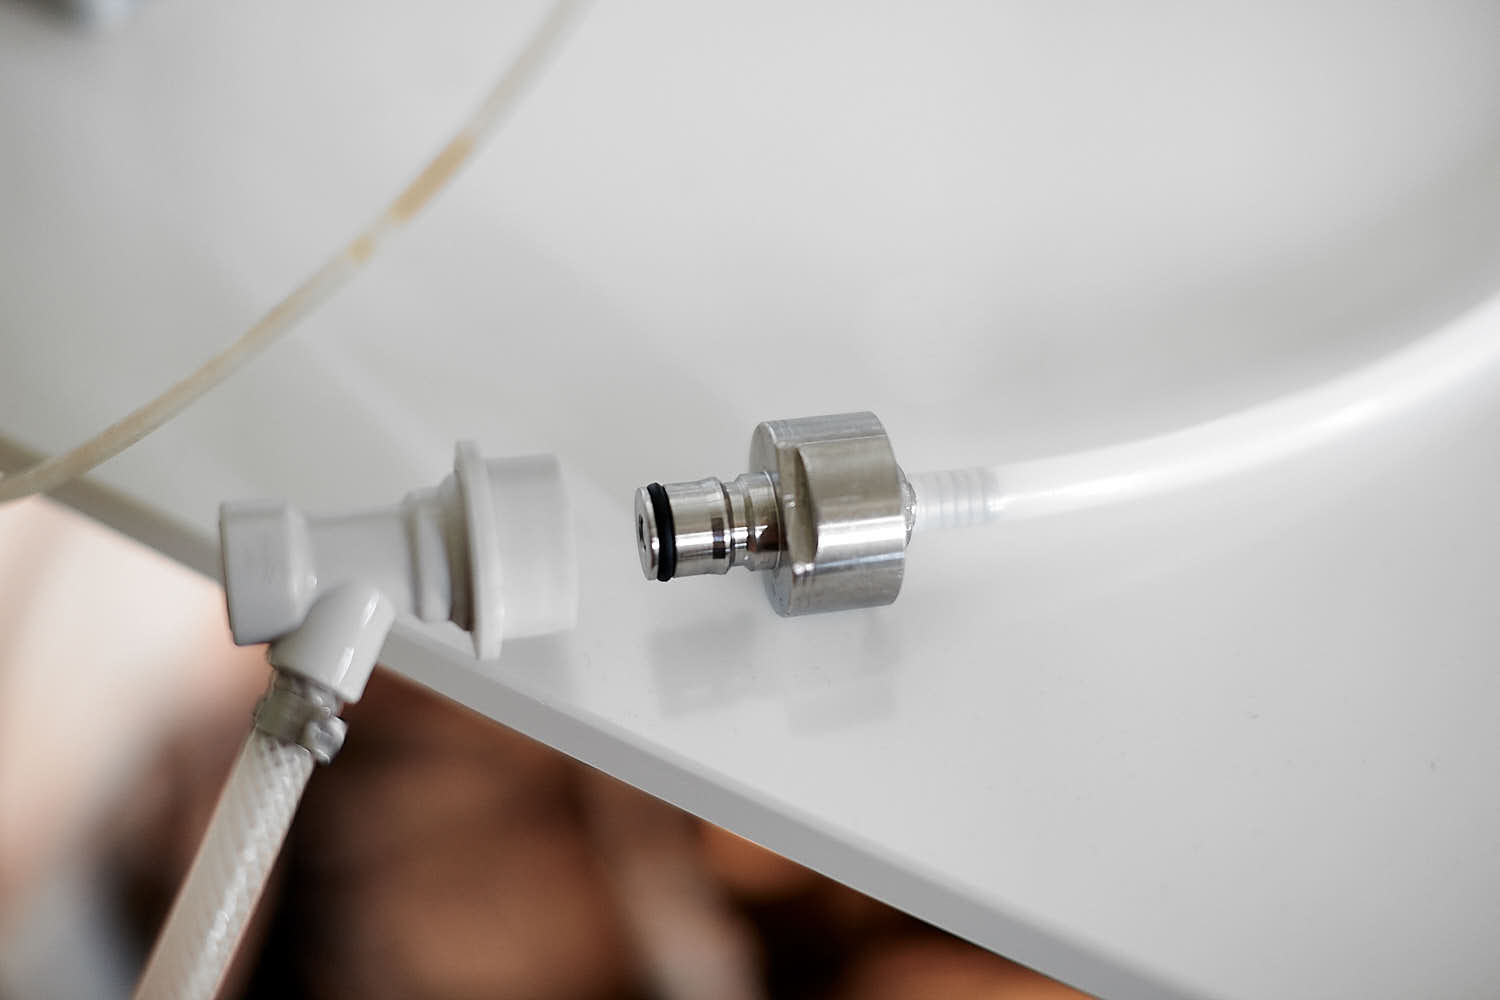 I used a carbonation cap to connect the CO2-line to my CO2-tube but this can be done in a multiple of ways.
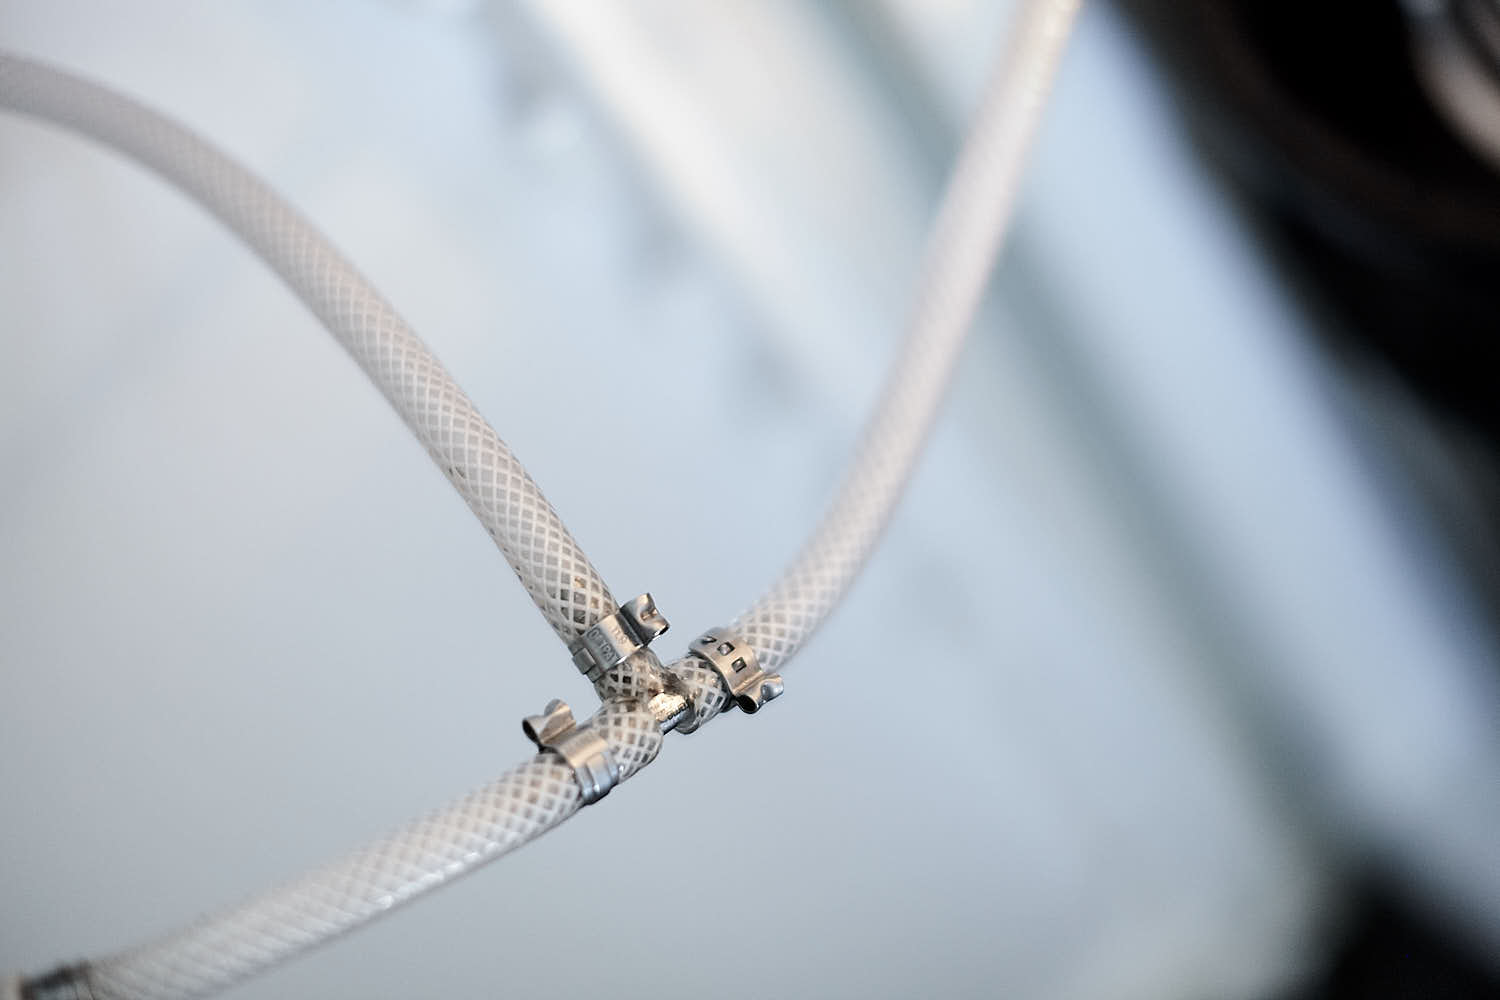 My CO2-lines already have a ”T” and two lines/grey ball connectors.
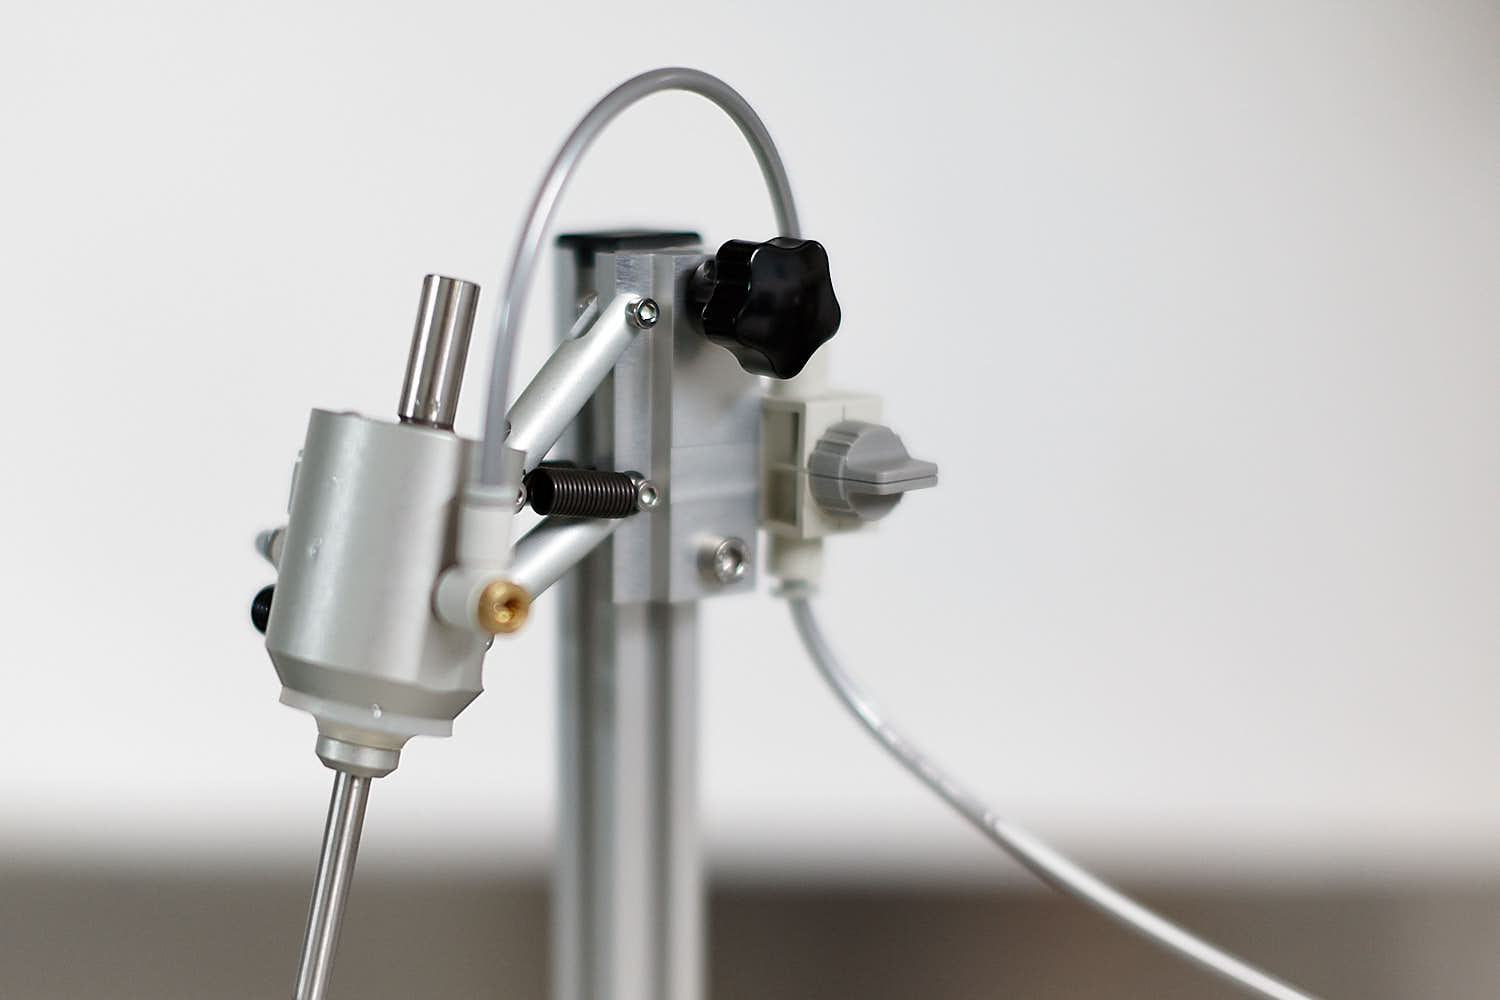 Right hand side knobs and levers. The stainless metall rodd is top left and where the party tap is connected thru ”perfect fit”, no connection parts needed.
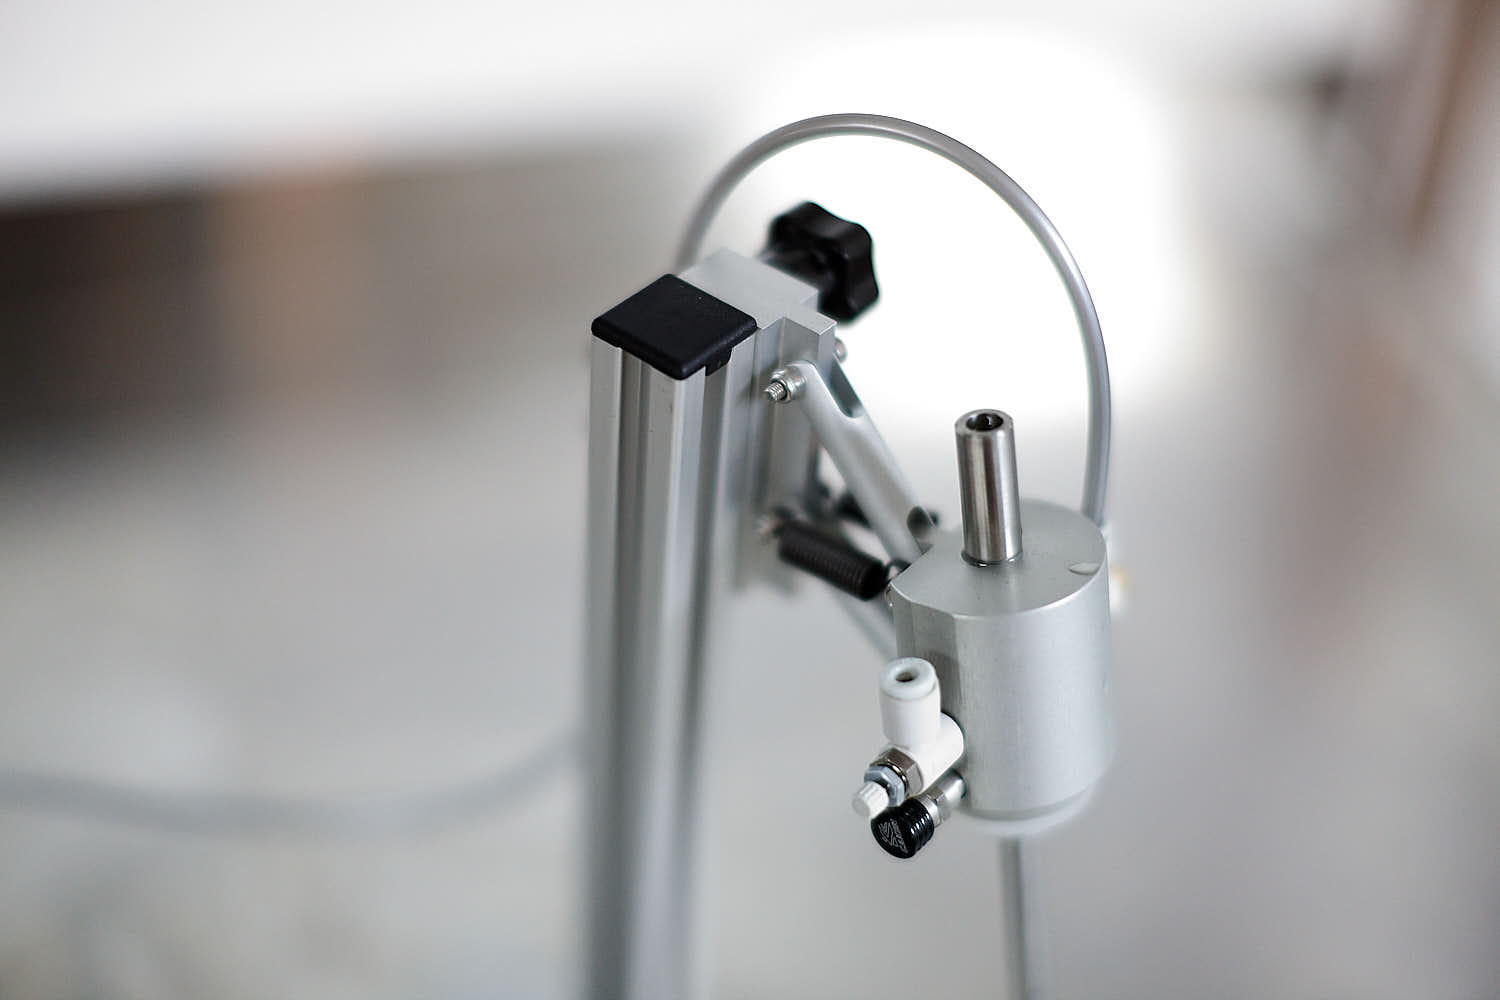
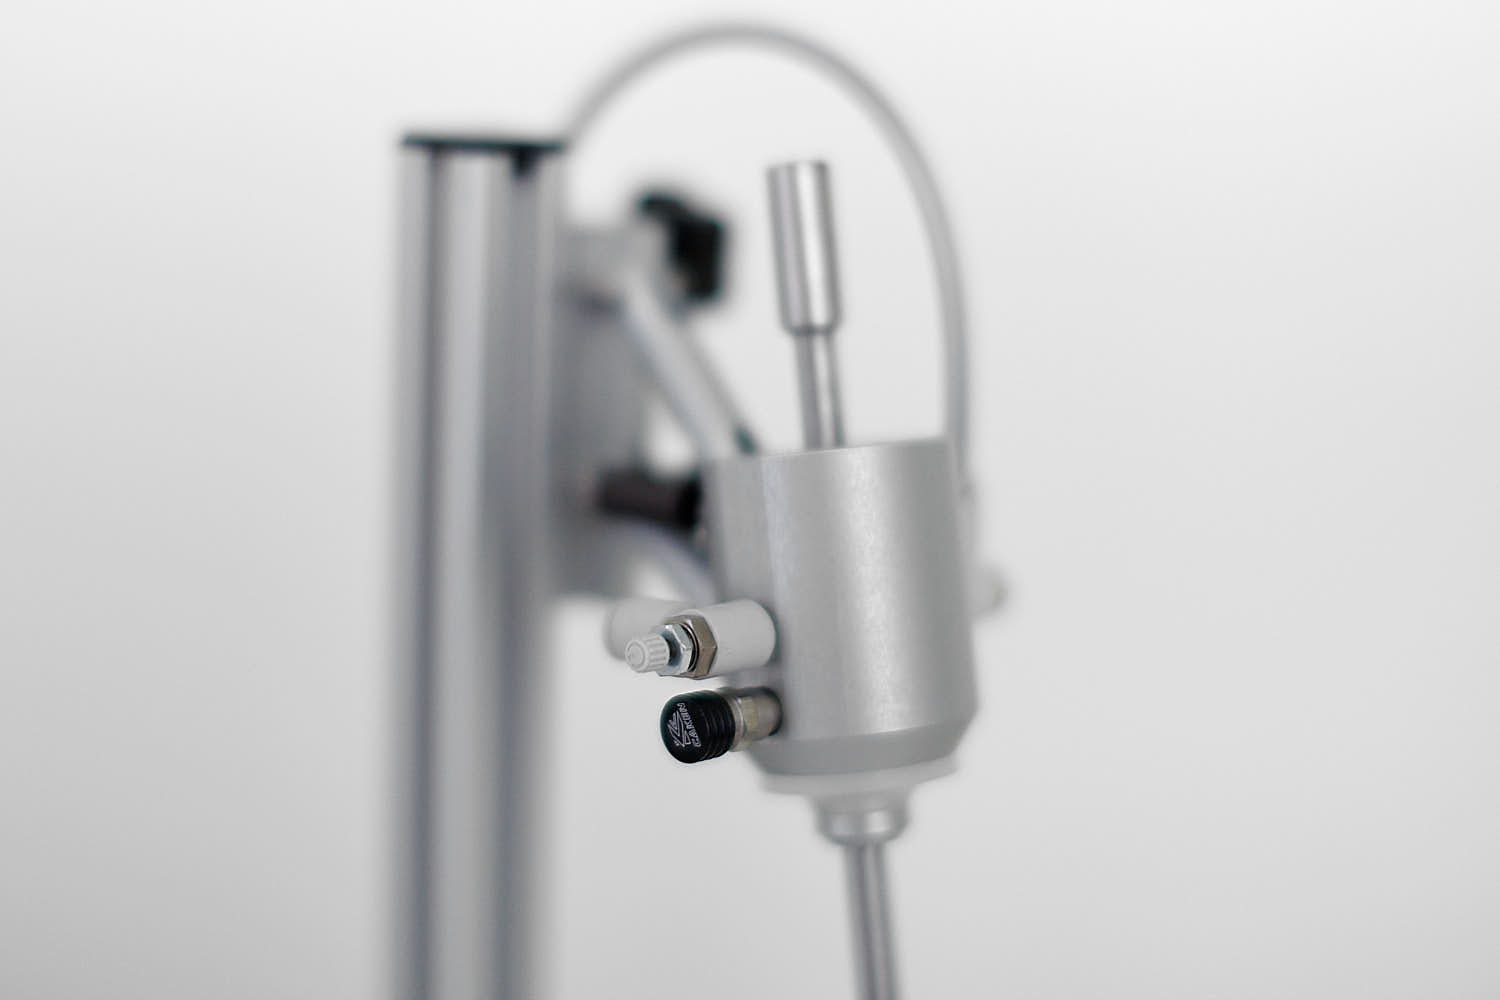 Small grey knob on the adjustable release valve and the black ”dump valve” button just below.
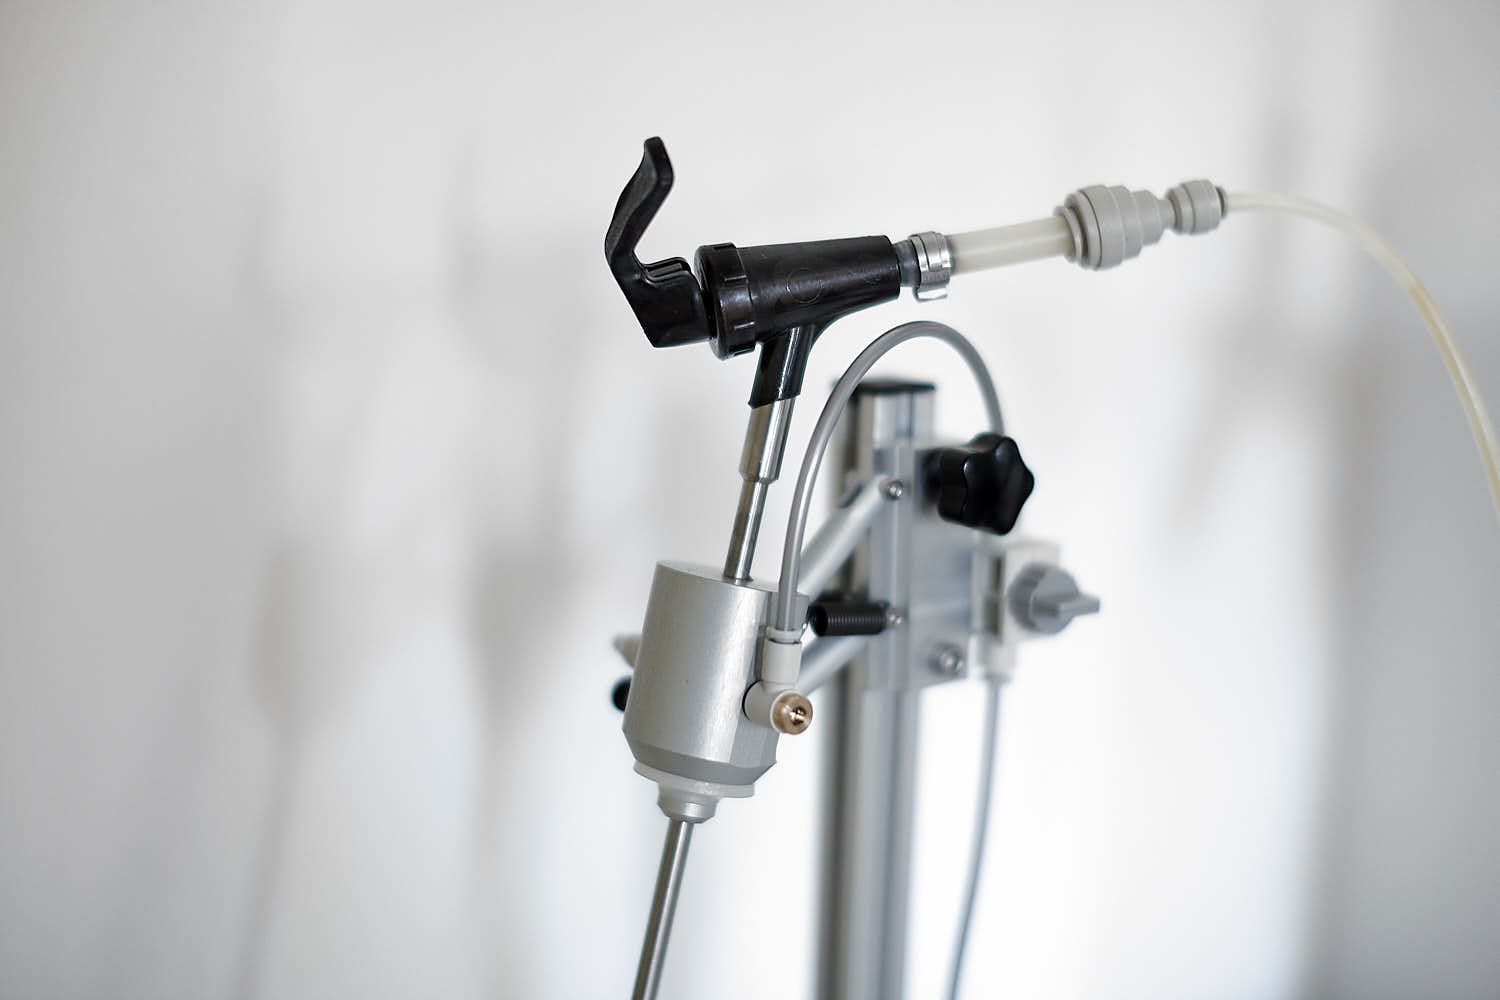 This is how the party tap connects.
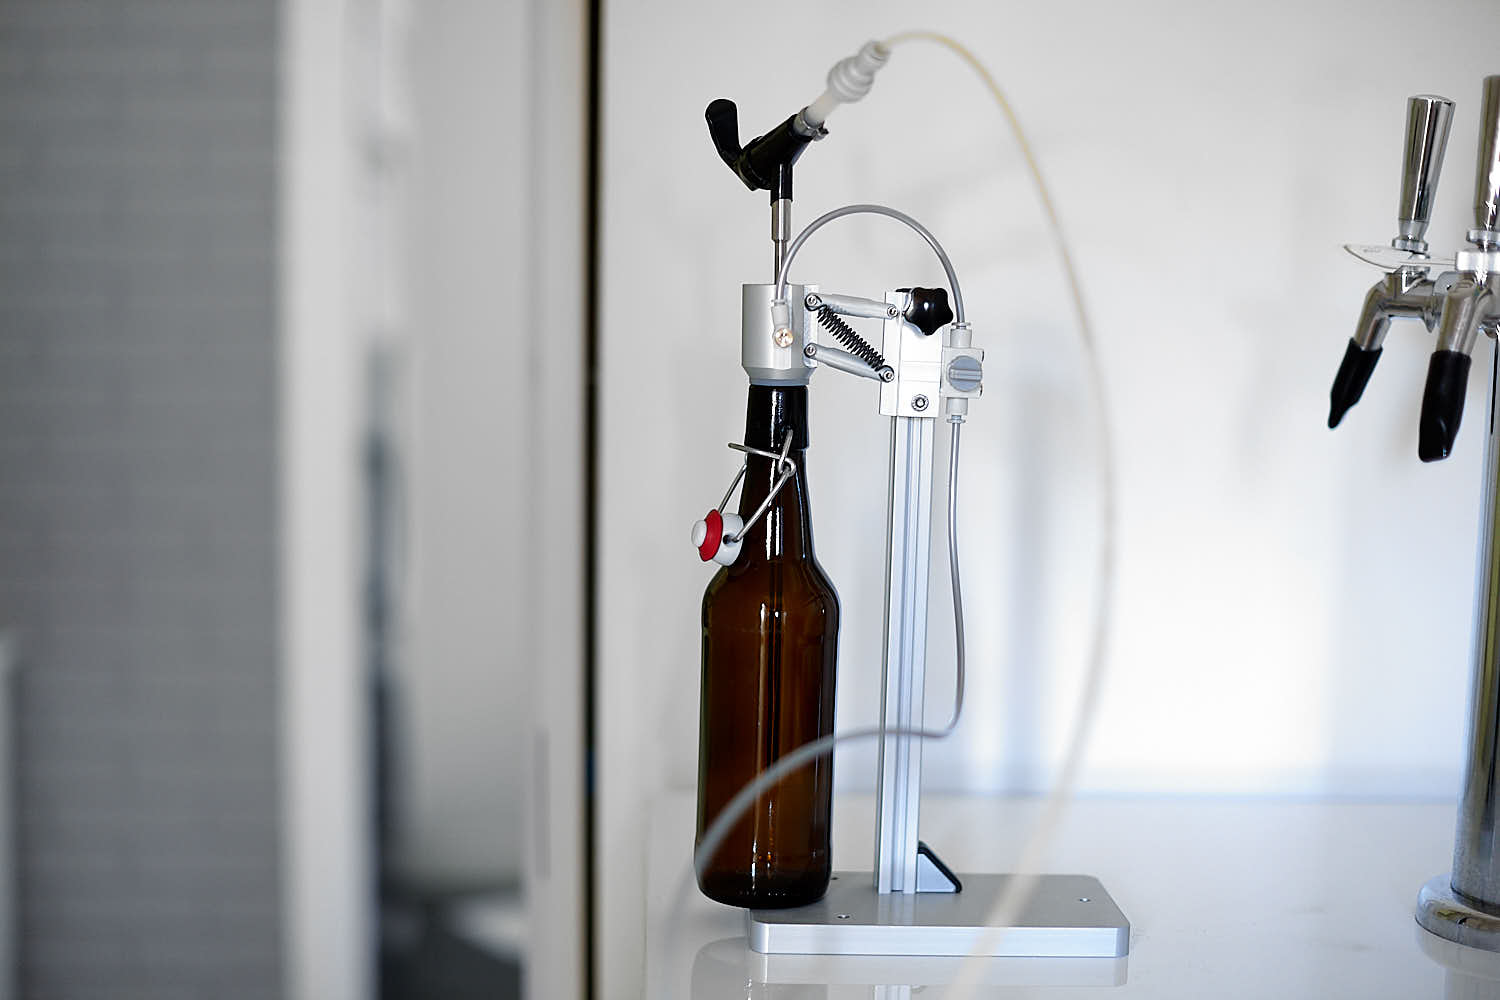 Various bottles is easily used by adjusting the Hippos height.
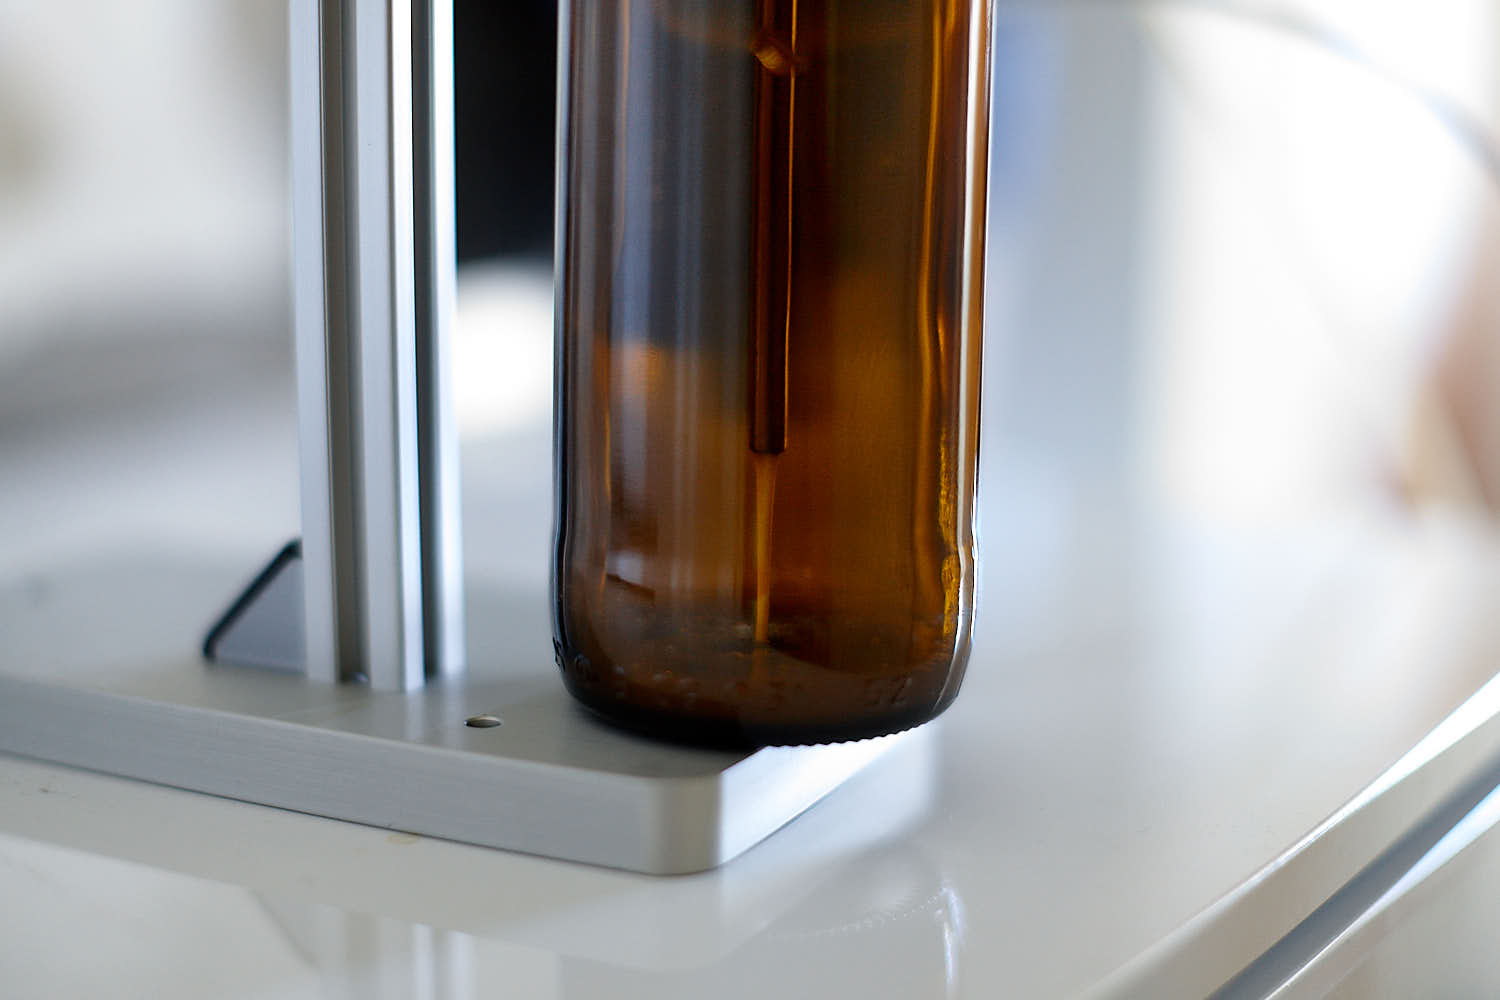 you need to adjust the height so the filling rod reaches lower than in this image (I did this for demonstration purposes). The filling rod could have been a bit longer for tall bottles and 0,5 cm would be my optimal choice here but still this didn’t produce any foam. The adjustment is done by just pushing the rod down.
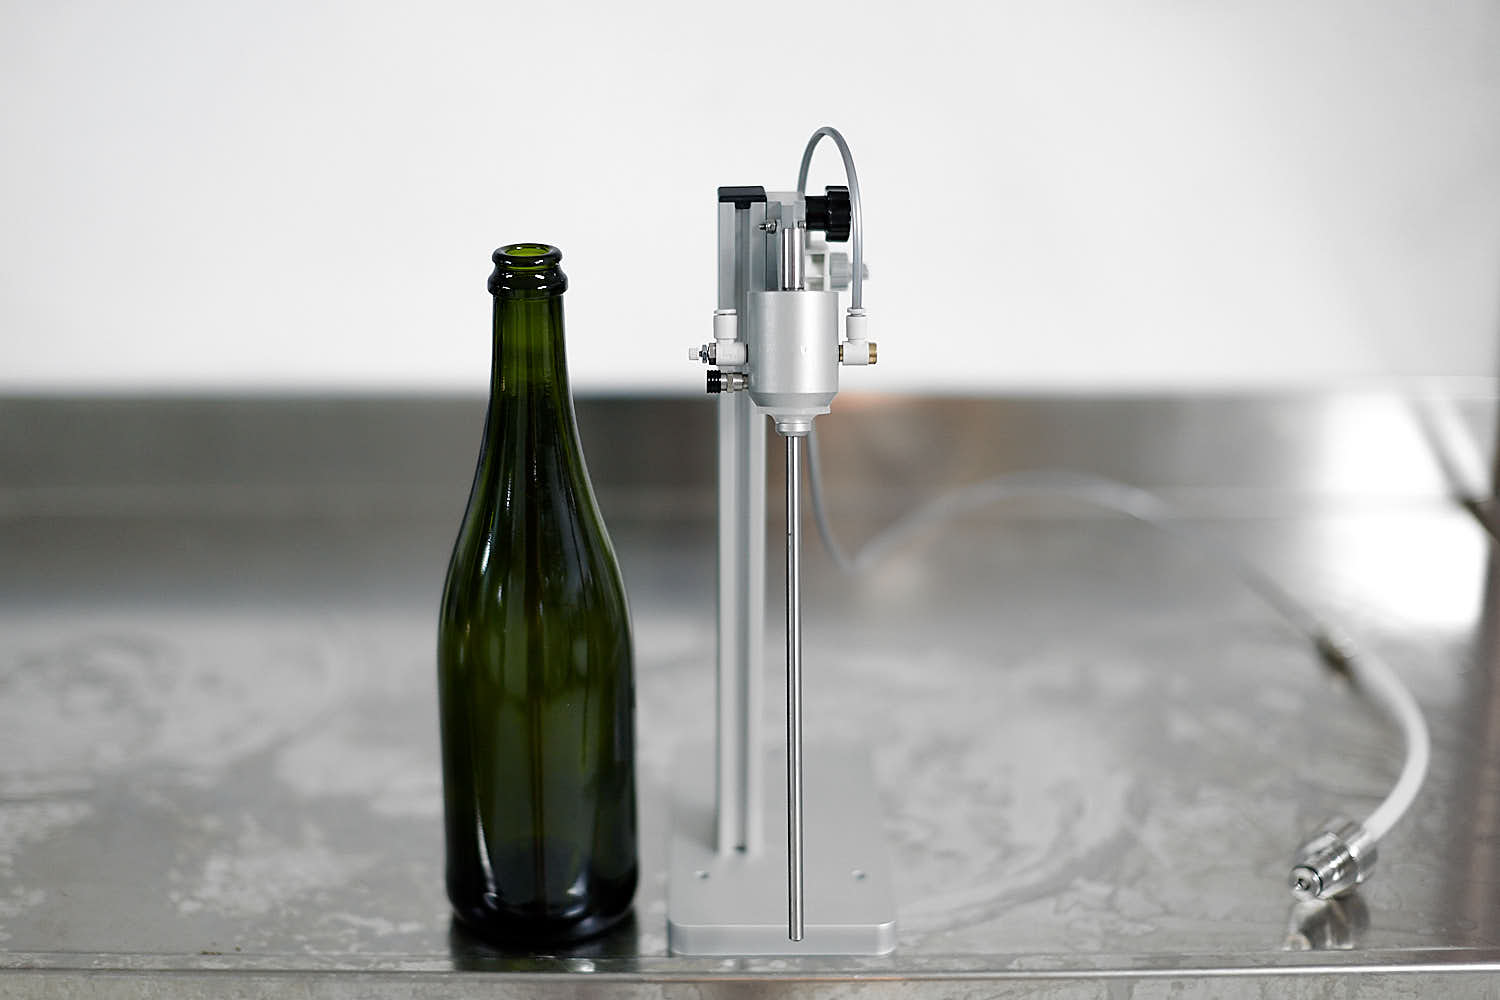 The Hippo compared to a standard Champagne bottle 75cl.
 Du har väl inte missat min bok om ölbryggning? Köp den hos Humlegården!


Köpte en direkt från ulric o håller med. Den fungerar precis som man önskar. Mycket bra produkt ! Jag håller fast min med hjälp av en skruvtving.
”The other way to connect CO2 inside of the CO2-line instead.
Fick du med dom kopplingarna eller är det något du själv skaffat?
Om det är egna, vart köptes dessa?
Jag fick med allt i påsen jag vann på SM så jag vet inte vad som ingår när man köper den via webshopen.
Vet du om man kan använda någon annan koppling än partykran tex någon slags JG koppling ovanpå?
Ja det finns en JG-koppling som passar tydligen. Borde vara 3/8”.
Hej och tack för en bra recension. Funkar mottrycksfyllare även till okolsyrad öl i rumstemperatur? Jag vet att en del belgiska bryggerier har system med både koldioxid och vakuum för att rensa ur flaskan innan.
Fungerar utmärkt men då finns risken för oxidering innan jästen absorberat syret i flaskan. Vakuum körde jag med Hippon genom att köpa två extradelar från tillverkaren. Fungerade riktigt bra!
Okej! Så om jag förstått det rätt så bildas det en luftficka i headspacet när man fyllt upp ölet på grund av att ölet inte skummar som vid kolsyrad öl. Så det bästa borde vara att att köra först mottrycksfyllare och sedan trycka i koldioxid i headspacet med en beergun eller flusher och sen snabbt sätta på kapsyl.
Om jag sedan utvecklar anläggningen som du har gjort med vakuum och kör triple vakuum purge, blir då syret så lite att jästen inte kan konsumera sockerarter då? Det kanske räcker med att köra dubbel vakuum purge då 🙂
Utan skum så får du alltid syre kvar i headspace även om du på något sätt försöker blåsa bort det med co2. Med hippon och utan tryck i ölbehållaren (fat/jäshink) kommer det ta väldigt lång tid att flaska. Hela tanken med mottrycksfyllare är att ölen trycks ner i flaskan. Jag förstår inte varför man ska ha en mottrycksfyllare till icke kolsyrat öl förutom att den ser ball ut.
Det jag eftersöker är ett sätt att minska syret i flaskan innan buteljering. Som nämnt tidigare så använder sig belgiska bryggerier av co2 och vakuum. Jästen konsumerar uppenbarligen inte allt syre vid primning. Det var därför tanken slog mig att hippon kunde vara ett alternativ.
Såg din video angånde vakuum fyllning, tänker att de känns överdrivit att vakuumsuga tre gånger, har du något mätresultat på de?
Jämföra inget vakuum med tre gånger?
Jämföra en med tre vakuumsugningar?
Jag har inte mätt själv för jag flaskar inte längre men du kan läsa mätdata här: http://www.lowoxygenbrewing.com/wp-content/uploads/2017/01/bottle-evac.jpg
Overkill ja men metoden är ju för den riktiga finsmakaren med lågsyremetoden. Man kommer väldigt långt med en utsugning men ska det vara riktigt syrefritt är det tre ggr som industrin kör med.
Fig 5.25 shows clearly the different reduc- tor of the air content using different pre-
treatments: the red bottle coming out of the bottle washer is still completely filled with air and 1s (green) subjected to a double evacu- at)n, through which the air content of over 52ml1sfinallyreducedtoalmost0ml.If,how- ever. the same bottle (blue) is prerinsed w ith a CC air mixture from the ring bowl with a C0 proportion of 99 %, the air content f irst sinks, because of the prerinse, to 56.68 ml and after ”1e pretensing to around 5.67 ml air. Recently,
some plants, even a triple pre-evacuation is dPP ed, whereby the air content is reduced still
1
Jrther The 0 uptake in modern filling ma- 2
c~nes 1s less than 0.02 mg